[pinit] Save for later and share the love!
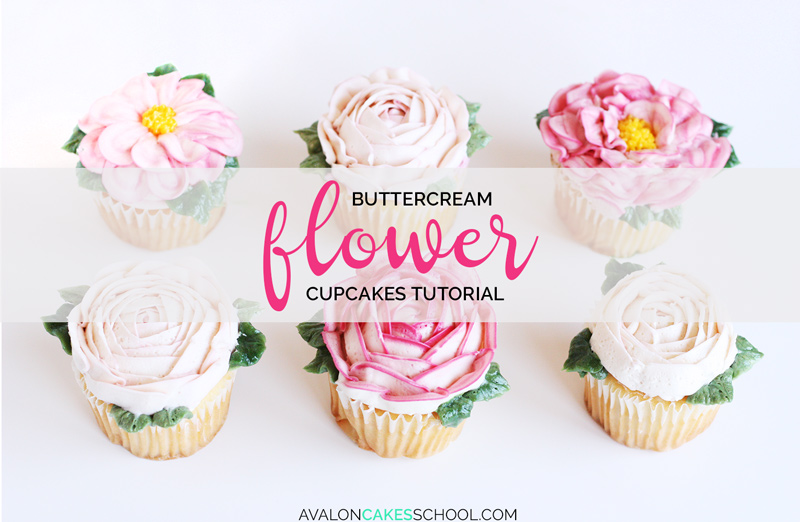
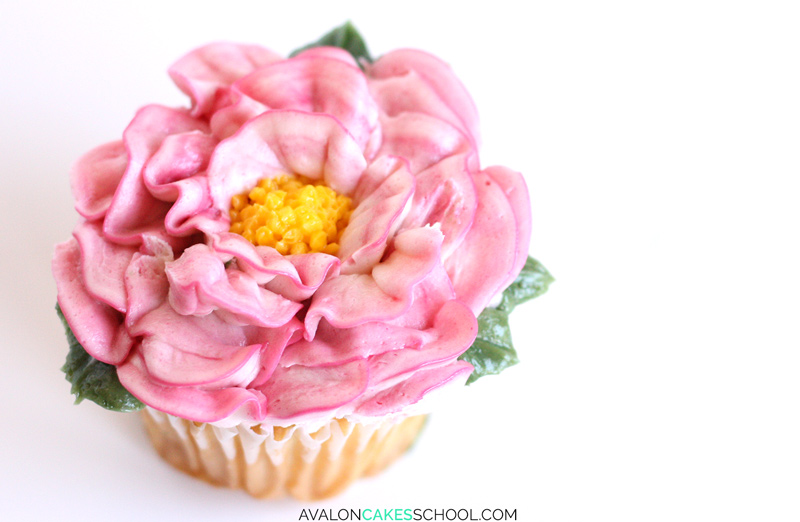
Buttercream buttercream everywhere, buttercream buttercream in you hair! That's right, I wrote a little ditty...you have my permission sing that to whatever melody you like. 😉 Fact is Buttercream is HOT this year, and not in the melting sense. I think there is a always going to be a magnetism towards that buttery blissful medium from both consumers and artists. For consumers, they feel like... "Yeah, I can and WANT to eat that... put THAT on my cake". For artists, it's a fairly quick medium and it has a very organic feel to working with it. You can pipe it, spread it and you can even sculpt with it (check out our Sculpting with Buttercream tutorial!). Will you be able to get the level of detail you would with fondant or modeling chocolate? Maybe not. But that is also debatable. 😉 Anywho, I say, embrace all edible mediums and their benefits! Flowers are one of the many ways to incorporate this delicious icing into your decor.
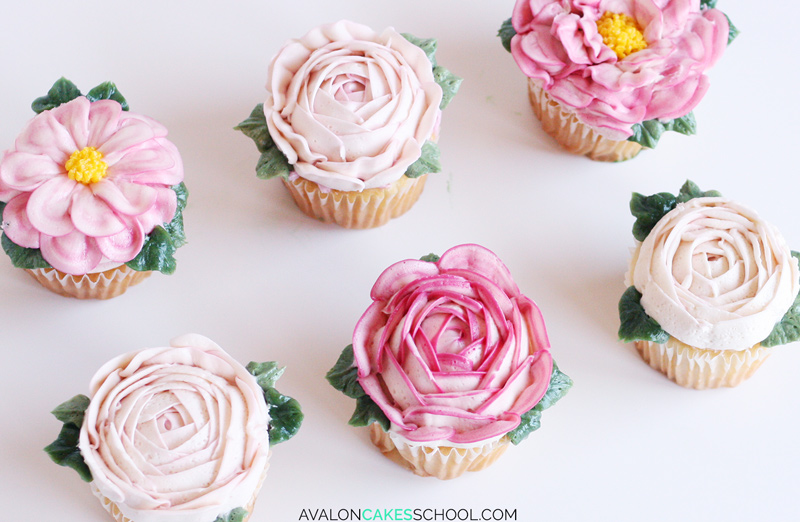
Now these bad boys? Once you get the hang of them, you can pump them out! They are GREAT for weddings, birthdays, tea parties.. you name it, they pretty much steal the show. Of course, don't forget to charge more for your time and skill! 😉

Few know this, but I actually spent the majority of my fine adolescent years working in a little gourmet grocery store bakery. Buttercream was our only choice for decorating, because it was efficient and cost effective. It was all about filling that case and making sure it stayed filled. Fondant wasn't even on our radar at that point (clearly I came to love it later on in my career). So, buttercream flowers was something I had to teach myself as it was a must for the "grocery store cake". One of the more experienced decorators at the time taught me how to make a rose. Once I got that down... it was PLAY TIME! Soon after my confidence grew, I created something I called "fun cakes" (just buttercream decorated cupcakes)... nothing new in the world of cakes, but new to our little bakery. Soon I was pumping out cupcake after cupcake adorn with flowers and adorable animals (that's a whole different tutorial).
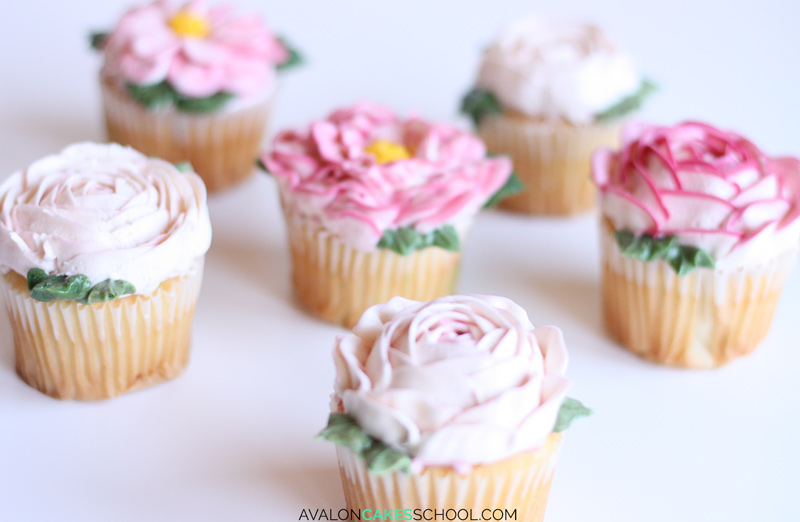
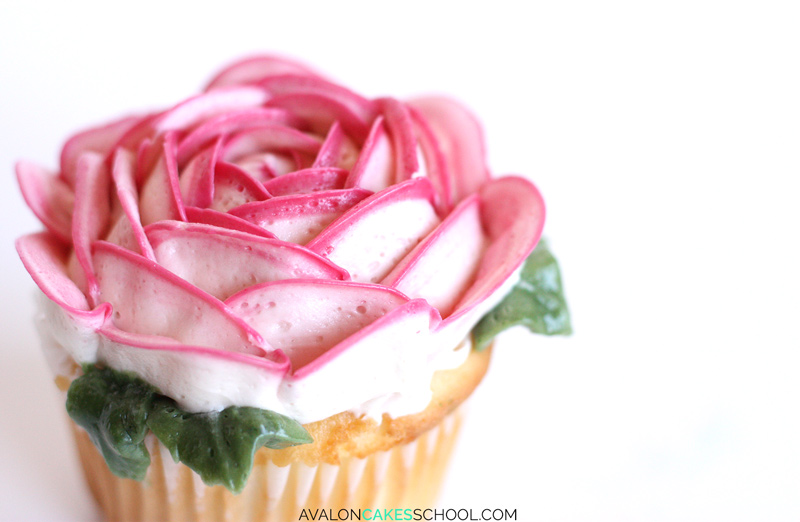
Now that was almost ten years ago! So why am I making these now? Two reasons: (1) A member asked if the Easy and Delicious Lauren Kitchens Buttercream would work well for buttercream flowers. Important, I made alterations to recipe to make it more suitable for flowers at the bottom of the page. (2) Shoot, I just wanted to see if I could still do it! So I dug out some old piping tips and tried to get up on that bike again. Was a bit rusty at first, my first few roses were not keepers. But, as always, practice prevailed and I came out with some flowers I was happy with! Decided I'd share how I did them (keep scrolling 😉 )...
One of my favorite tricks?! SAVE YOUR HANDS. I mean, literally, save them from the aching pain at the end of the night. Because I was pumping out so many of these cupcakes, my left hand would be killing me by the end of the night from twisting the flower nail back and forth. Then I had an idea! I put a can (of beans, corn, whatever you have around) on my turntable, placed my cupcake on top of that, then piped my flower straight on the cupcake! Why the can you ask? To lift it up to a comfortable height AND so my hands could maneuver different angles. You not only save your hand, but you save some valuable time not transferring the flower from the nail to the cupcake. See it in action in the video at the bottom of the page.
[pinit] Save for later and share the love!
How to make them? Here is a previously recorded Facebook LIVE video tutorial. What is a Facebook Live? A live streaming video on my Avalon Cakes page, where viewers and I can interact in real time! This was previously recorded, however you can follow our Facebook page (be sure to click "on" for live notifications) and catch us when we are live again for one of our free mini tutorials! Better yet, you can become a member of the online cake school and access ALL of our tutorials, recipes, articles, calculators and private facebook group!
What I used:
Here's a helpful for storing your left over icings!
When freezing buttercream or ganache, I will put it in plastic wrap and then into a zip lock bag. I find this much more space efficient for my freezer, less dishes to clean and cost effective! Take it out the night before you need it again, unwrap it while it's still cold and put it in a bowl at room temp to whip up again the next day after it has thawed! Great for small amounts of different colors too!
Last modified on January 19th, 2023


I'm Avalon -- and I'm not your typical cake decorator. I'm obsessed with fusing the world of ART and CAKE. Sugar is my canvas. If you're down to get messy and dive into a whole new level of cake, take my virtual hand, cause I've got so many secrets I want to show you! learn more>>

Join 1000s of others in our Online Cake School and learn how to make incredible sugar art!
I love this buttercream but I would like mine whiter.
Could I whip the butter to a much lighter color before including it at the same time as you suggest here in this recipe ?
I've never personally tried that but worth a shot! I'd also suggest adding white food coloring and a tiny TINY bit of purple (to cancel out the yellow) -- this will get you to white pretty easily!
I’m in love with this frosting. It’s my “FOREVER” frosting.