[pinit] Save it for later and share the love!
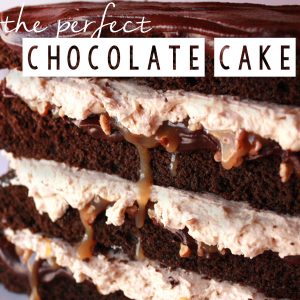
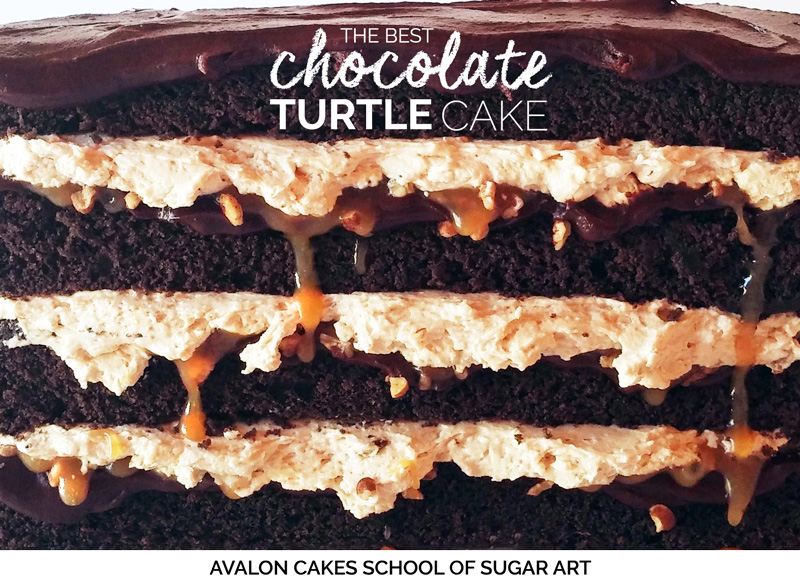
I kid you not, this is the best chocolate turtle cake evvvvaa. In my humble opinion, of course. 😉 When I think of my favorite way to EAT chocolate...it's usually just opening my mouth and shoveling it in! However, pair it with pecans and caramel....CLOUD 9. This combination became one of the most popular flavors chosen by my customers. During the tastings, when it came to biting into this one... I'd always watch their facial expressions LIKE A HAWK! Their expressions never failed to make me feel like I succeeded in making their taste buds dance! Gooey caramel, rich chocolate ganache, fluffy buttercream and rich chocolate cake... if it had a middle name, it'd be DECADENCE.
[pinit] Save it for later and share the love!
What makes this the BEST chocolate turtle cake? The layers! They go a little sumtin' like this: cake, ganache, pecans, caramel, buttercream, REPEAT. Stop bracing your chest, this is one of those special occasion cakes, only indulge once in awhile! 😉
You will use four of our most popular recipes to put this beast together!
For an 8" round, 4 layer cake you'll need the following of each:
Note: You can easily adjust our recipes by simply changing the serving cups under the recipe!
Preheat oven to 350°F. You can line your pans with parchment on the bottom and sides if you wish for easy removal, use a cake release spray or the cake release recipe.
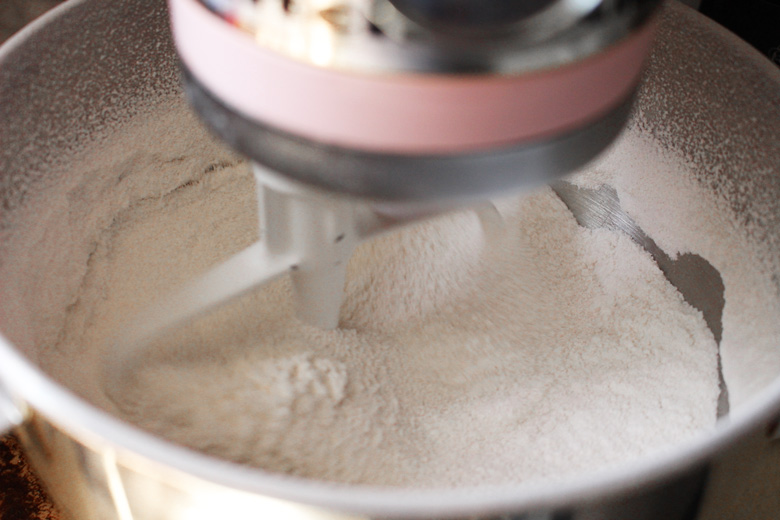
Add all dry ingredients (flour, cocoa powder, baking powder, sugar, and salt) to a stand mixer bowl and mix with a paddle to combine well. This replaces sifting. (pictures do not include the cocoa powder, just to be used as reference to mixing method)
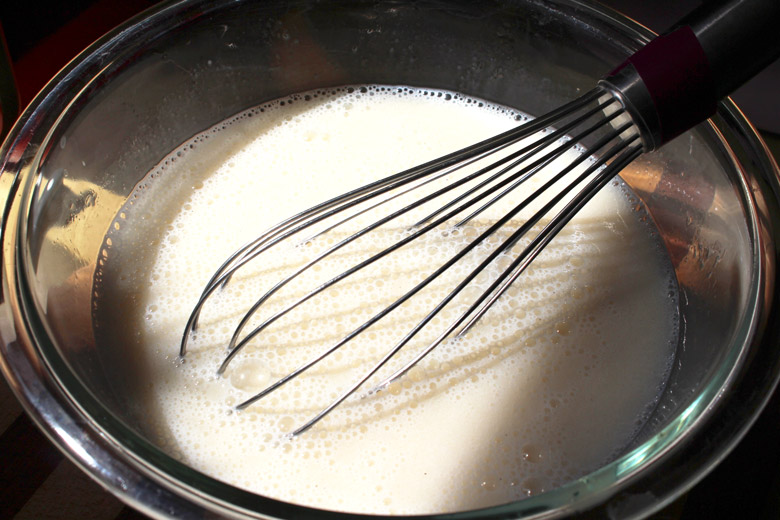
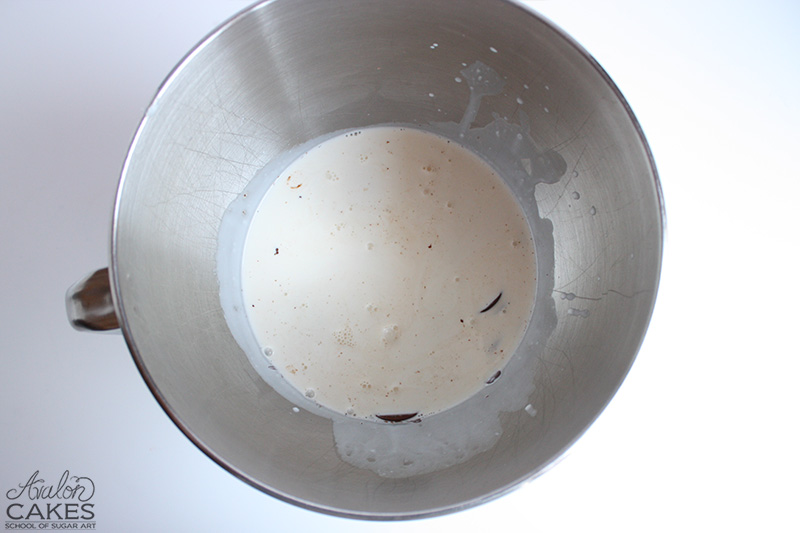
In a separate bowl, combine all wet ingredients (vanilla bean paste, egg whites, milk, and vegetable oil) and whisk to combine. Set aside.
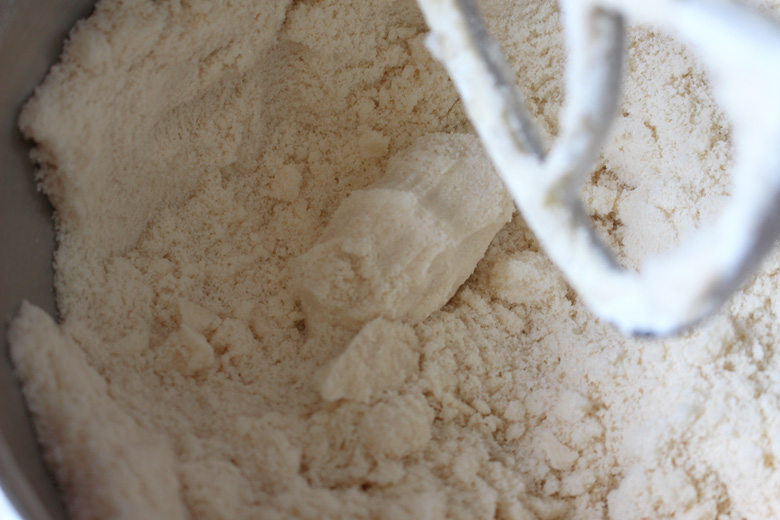
Turn mixer to low and add room temp chunks of butter slowly to the dry mix.
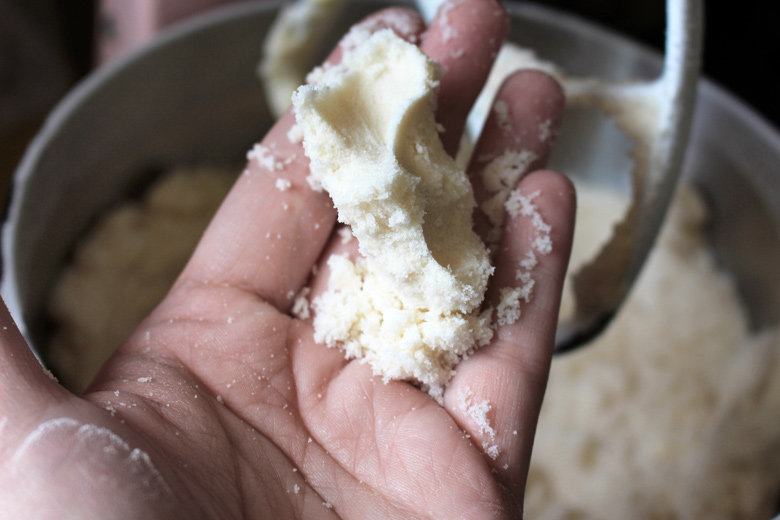
Continue to beat on slow until there are no chunks of butter remaining and the mixture becomes crumbly. Your dry ingredients and butter mixture should crumble when squeezed gently, hold it’s shape.
On low speed, add 1/3 of the liquid ingredients to the dry/butter ingredients and then turn to medium. Mix until a light paste forms. Scrape down the sides of the bowl.
Add half of the remaining wet ingredients and beat on medium high speed for 4 minutes. Scrape down the sides and bottom of the bowl.
Add the remaining wet ingredients and beat on medium speed for 5 minutes.
Fill desired pans 2/3 of the way full.
Bake until a skewer comes out clean and sides have begun to pull away from the side of the pan. (see additional notes below)
Allow to cool for 10 minutes before removing from pan. Place on a rack to finish cooling.
*Vanilla extract can be substituted for vanilla bean paste.
Cooking times vary depending on size of cake. Start checking at 30-50 min for 6"-10" pans, and 50-80 min for larger pans. Bake until a skewer comes out clean from the center of the cake and sides have begun to pull away from the side of the pan.
Traditional Method
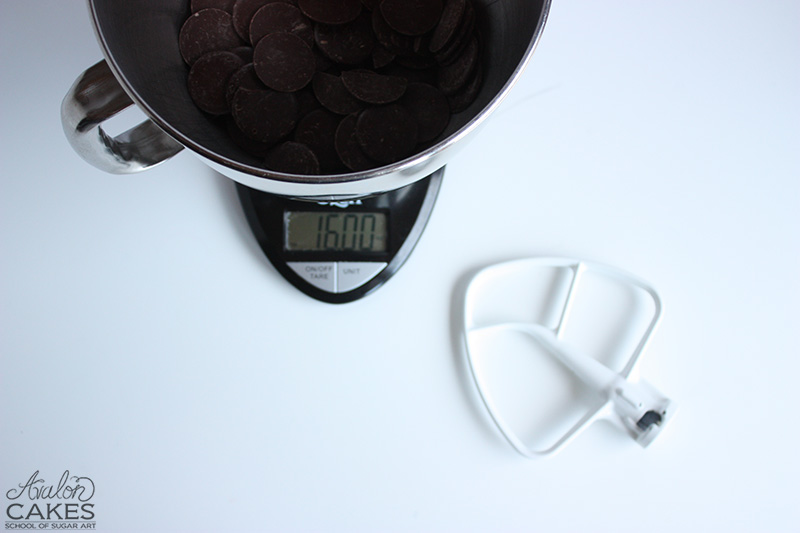
Measure out chocolate. I use a mixer for my ganache because I think it come out more consistent and I save a lot of energy (which i like to do early on in the cake makin day!).
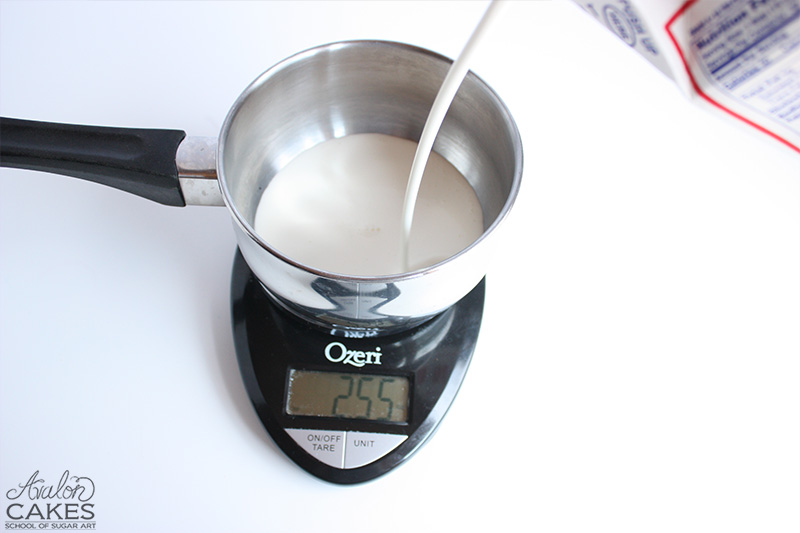
Measure cream in a sauce pan, bring to a boil over medium/high heat.
Poor hot cream over chocolate, swirl bowl until all the chocolate is covered. Allow to set for 30 seconds.
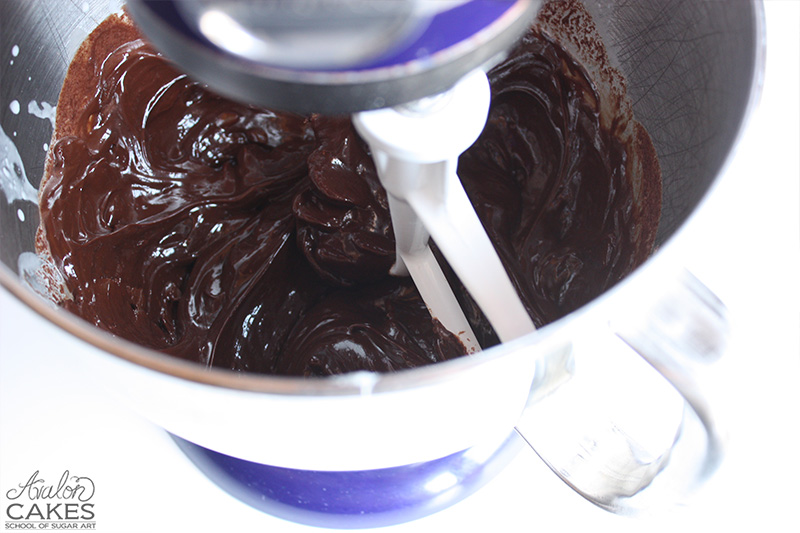
Start mixing with the paddle attachment on low.
Tip: If your mixer is pretty full of ganache, place plastic wrap over your bowl/mixer to catch any flying heavy cream/chocolate once the mixing process begins! You don't want a mess on your hands 🙂
See cooling/storage directions at bottom of the page!
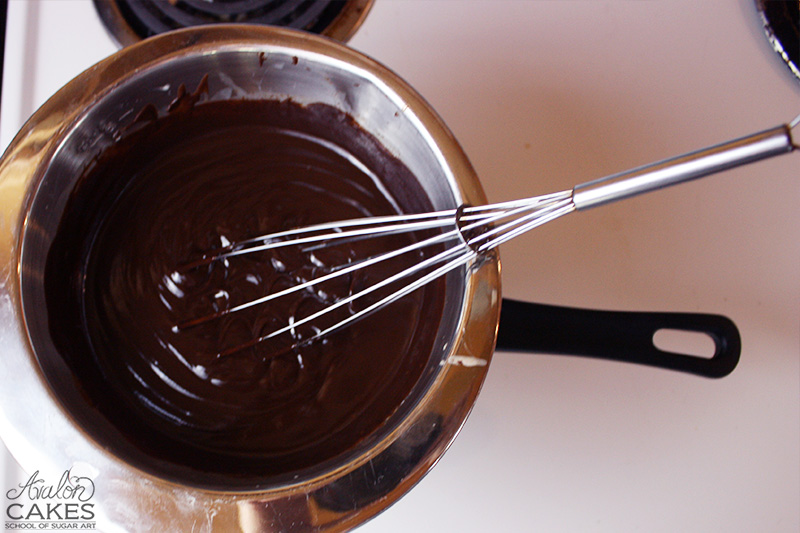
Double Broiler
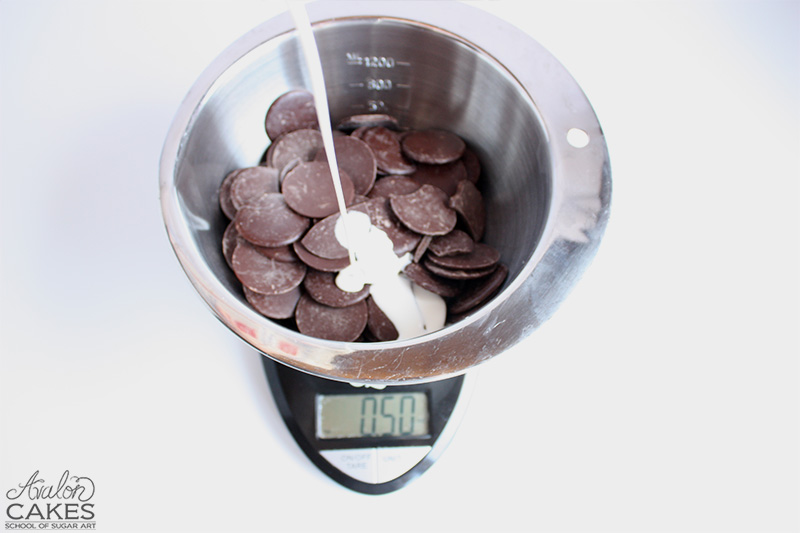
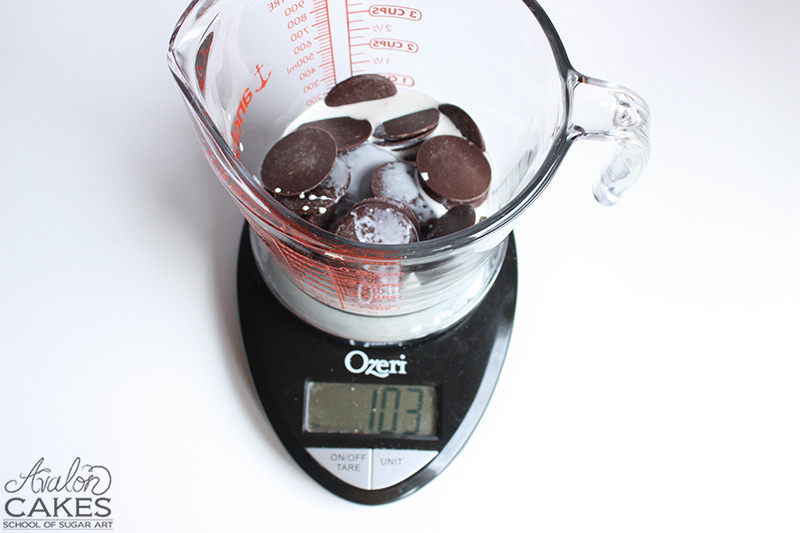
Measure out your chocolate.
Add your cream to the same bowl.Tare and measure.
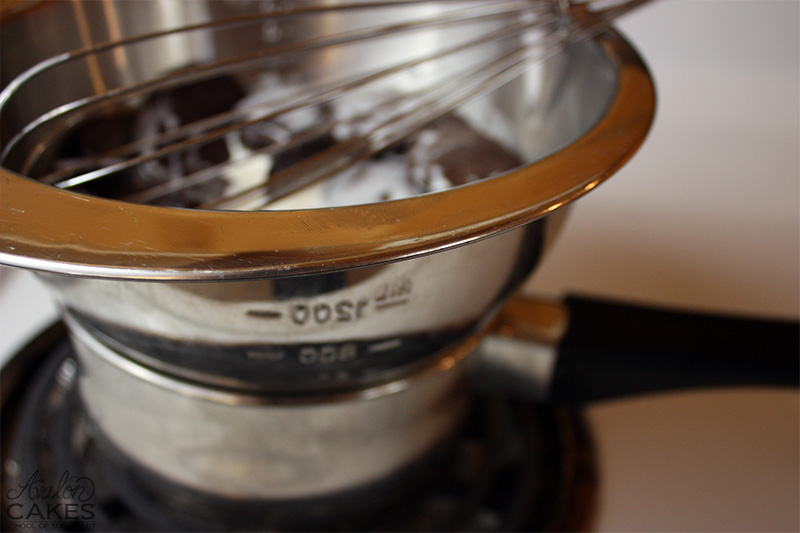
Place bowl over a pot of steaming water. Heat should be set to low/medium. Make sure the water is NOT touching the bottom of the bowl, you simply want to heat the bowl with the steam produced by the water.
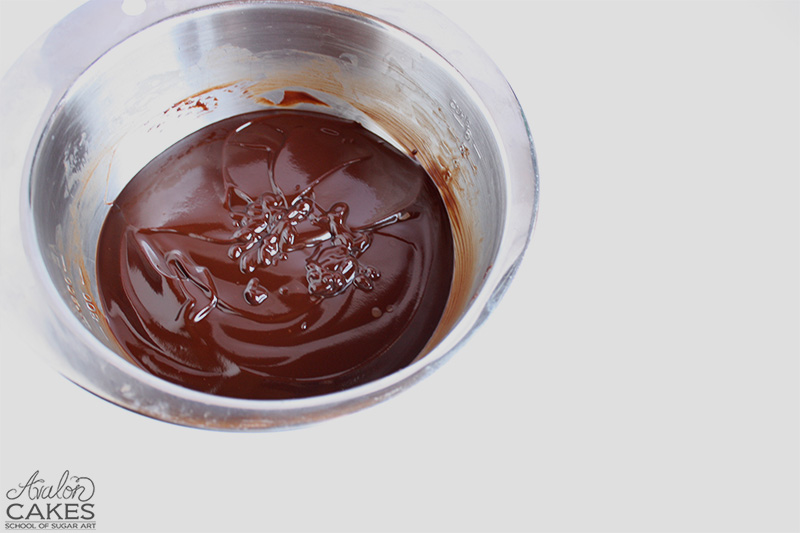
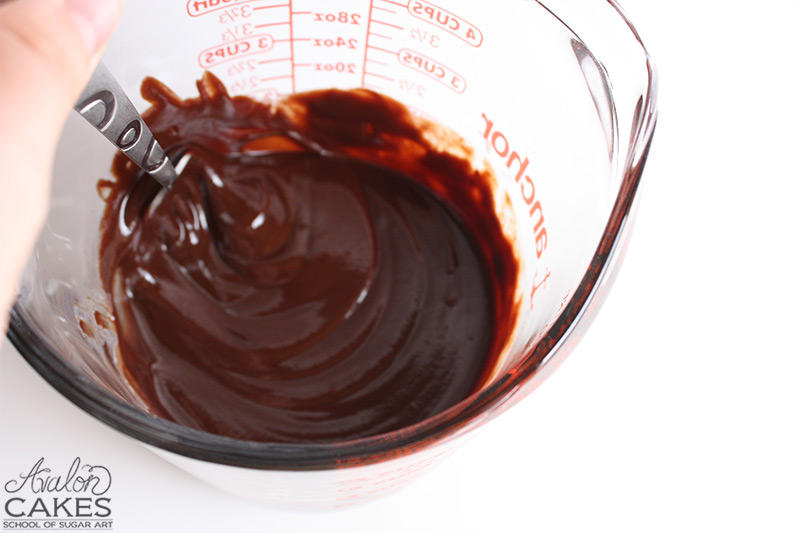
Use a spatula to scrape sides in the beginning, as chocolate starts to melt, change to a whisk. Whisk until cream and chocolate come together smooth of any lumps.
See cooling/storage directions at bottom of the page!
Microwaving (For Small Batches)
Measure out chocoalte in microwave safe dish.
Tare.
Add heavy cream.
Microwave for 30 second increments. Stir well between each increment! Depending on how much you are making, this could take 30-90 seconds.
(ie: I made 1 cup of ganache, it took 60 seconds total)
See cooling/storage directions at bottom of the page!
Let ganache set up at room temperature. DO NOT COVER WHILE COOLING. This will cause condensation and can ruin your ganache.
Not suggested, but when you find yourself in need of ganache quickly: Place it in the fridge. Mix it every 10 minutes or so, this ensures you do not get as many lumps from the uneven cooling.
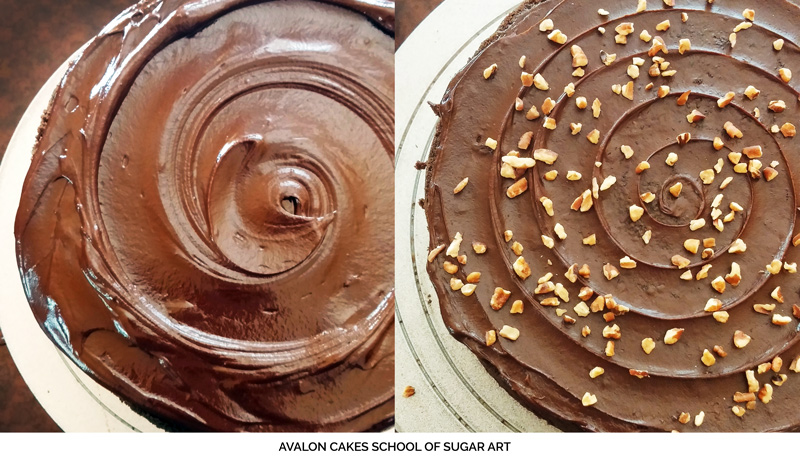
Tip: I make my ganache a few hours prior to using it, I allow it to set up to a peanut butter consistency and then start using it to ice my cake!
When ganache is completely cool, cover in plastic wrap.
It can be left at room temp for up to 1 day.
Refrigerate for up to 1 week or freeze for up to 6 months.
Tip: For freezing, I will spoon my ganache onto plastic wrap, wrap it up real good and then place in a freezer bag. Always date it! When you go to use it again, allow it to come to room temp over night, cut it up into smaller pieces and re-melt slowly in microwave in 10 second increments.
This is a perishable product and you should follow all of your local health code laws.
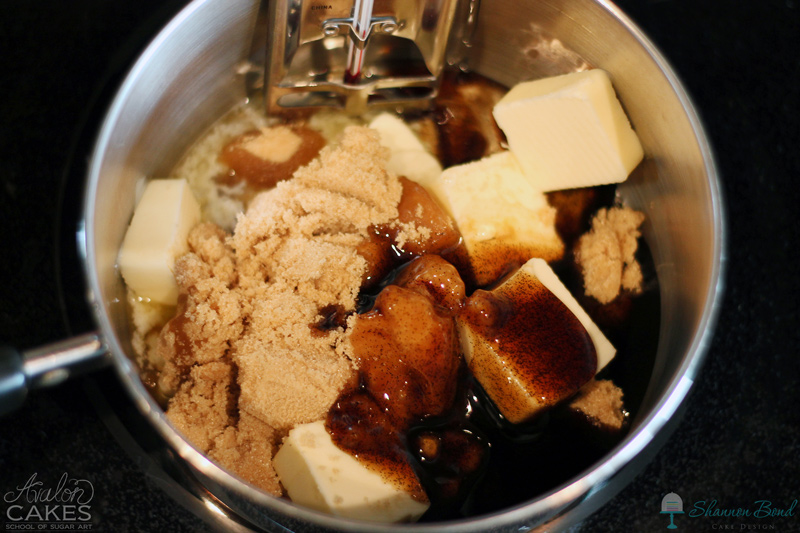
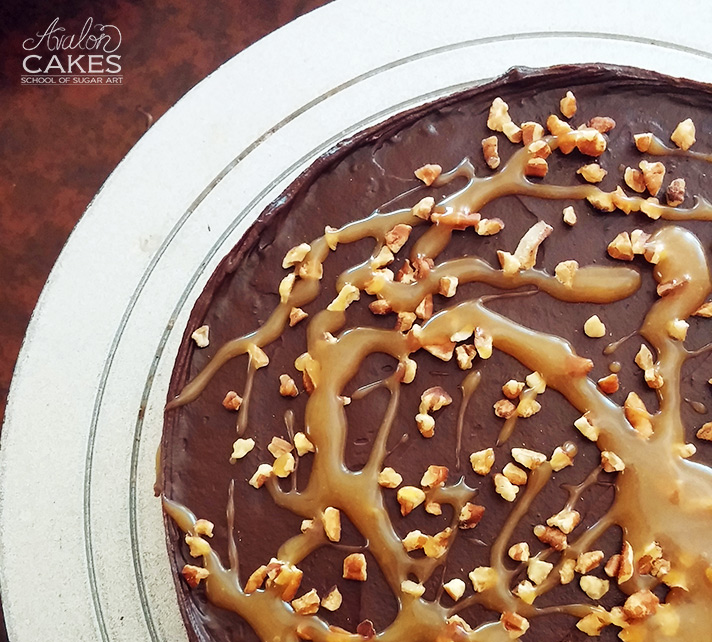
Combine sugar, corn syrup, butter and vanilla in a small saucepan over medium heat.
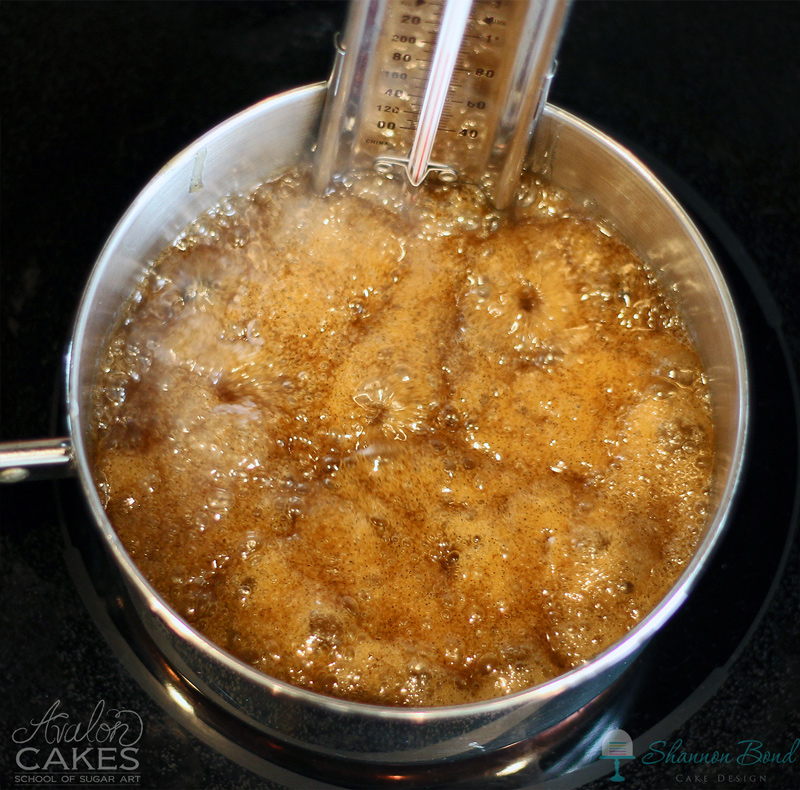
Bring to a boil and continue to cook until temperature reaches 220 degrees F. Stirring is not required, just set your timer and wait! It takes approximately 8 minutes on my stovetop.
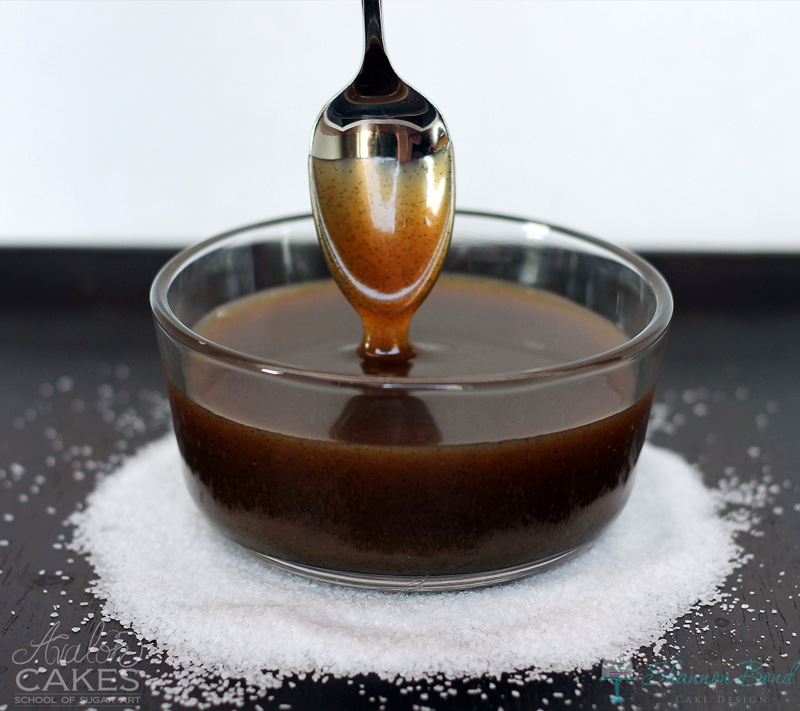
When the sugar mixture reaches 220, remove from heat and add salt and heavy cream. Stir with a whisk until completely combined.
Let cool to room temperature and pour into an airtight jar. It makes a little more than 1 ¼ c or 10oz. It will thicken slightly as it cools.
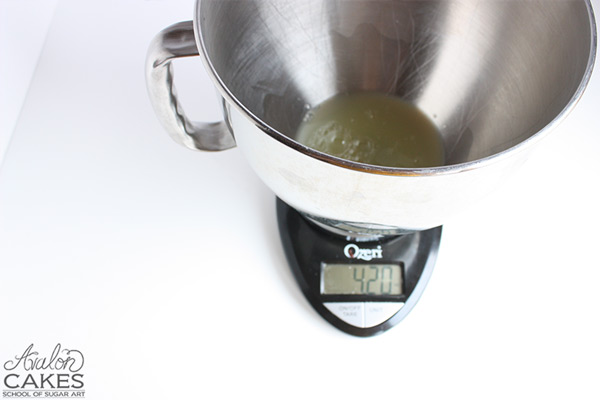
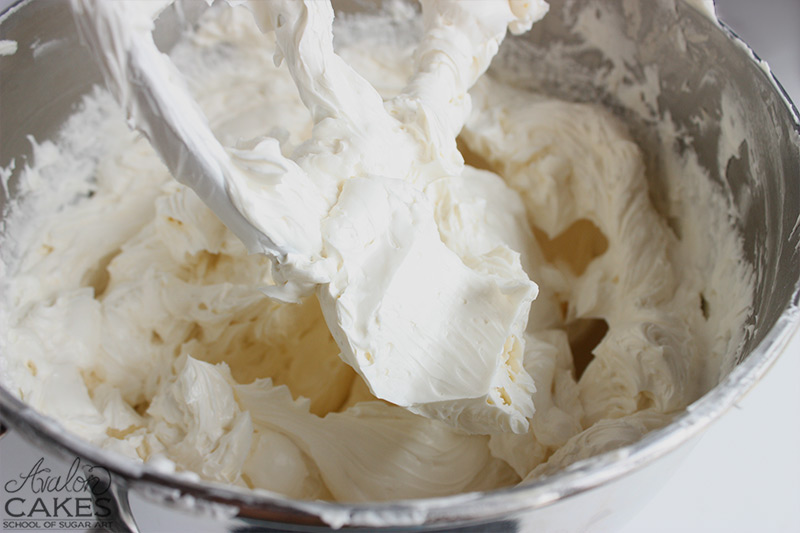
Measure egg whites in your mixing bowl.
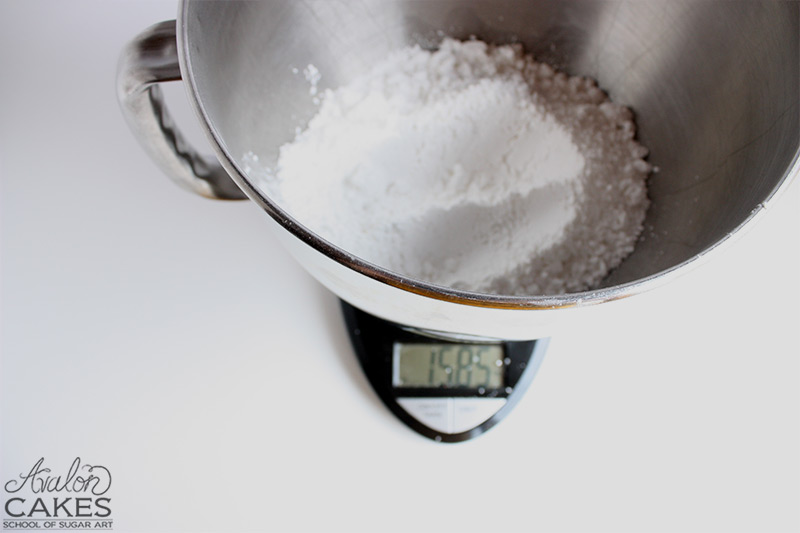
Tare. Measure powdered sugar in bowl. (Or in separate bowl, either way, add powdered sugar at this time)
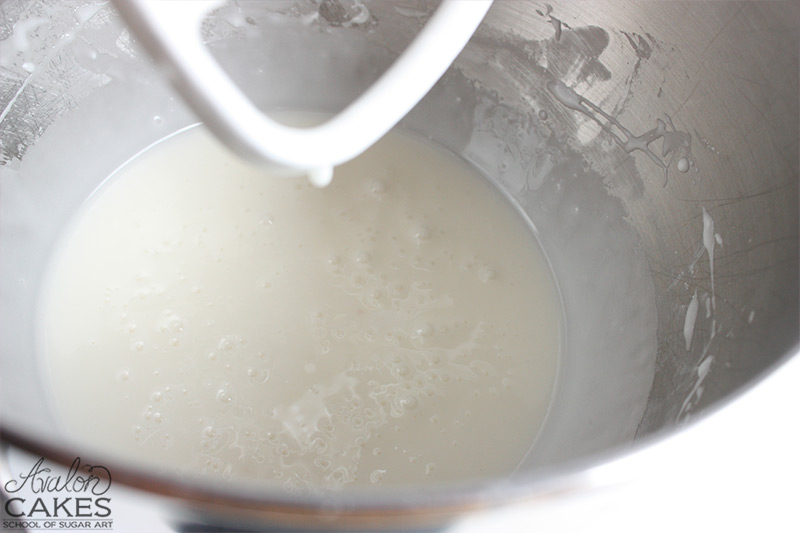
Using the paddle attachment, beat on medium/high (6 on KA) for 5 minutes. You are essentially creating a soft peak, glossy royal icing at this point. If it does not "peak", do not worry, our main concern is to dissolve the powdered sugar. You can incorporate more air into it down the line.
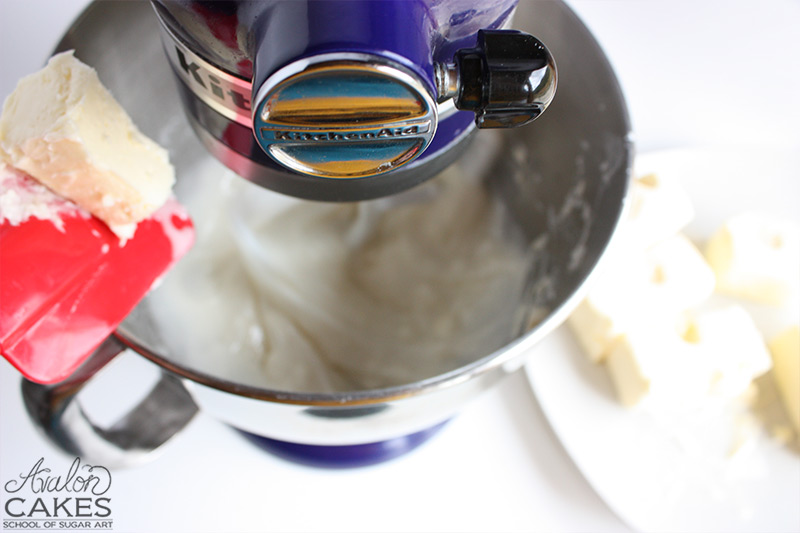
Make sure your butter is SOFT. Room temperature often isn't soft enough for me, so I'll put it in the microwave for 10 more seconds to make sure it's super soft to the touch. This will allow air to beat into the mixture easier.
Set mixer to medium, gradually add butter.
Scrape bowl.
Don't forget to add your vanilla! Now, beat for 5-10 minutes on medium/high (6 on KA) until light and fluffy.
To help remove larger air bubbles that may have formed, I reduce it to a low setting and let it mix for approx 2 minutes.
Fluffy delicious buttercream! Nom nom nom. See below for storage and other notes!
Notes via Lauren Kitchens:
Storage: The day after you make the buttercream, you will need to whip it at medium speed for 5 minutes. Store at room temp (68-74 degrees F) for up to 2 weeks. (Yes, you heard her correctly). Store in the fridge for up to 2 months. Store in freezer for up to 6 months.
Color: Use gel paste or oil colors to color your buttercream.
Egg Whites: Purchase the pasteurized egg whites in the grocery store next to the eggs. Most carton eggs are pasteurized. You can use fresh egg whites but it will decrease the shelf life of the buttercream unless you pasteurize them yourself. I do not recommend using meringue powder as a replacement.
Tips from Avalon:
For hot and humid areas, you have the option to take anywhere from 1/4 to 1/3 of the total amount of butter out and replace it (in weight) with shortening. If you have particularly warm hands and are doing a lot of piping (that includes buttercream flowers), I suggest this recipe with 1/4 of the total amount of butter replaced with shortening. I'm not a huge shortening icing fan, BUT some places *need* it for climate purposes.