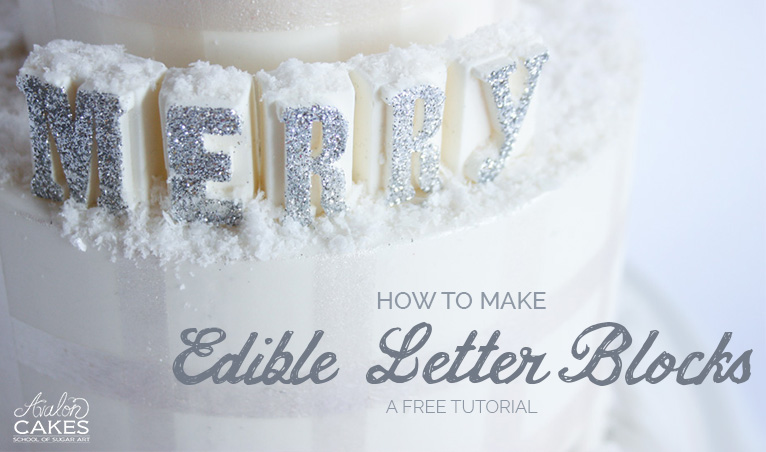
This tutorial was actually a paid tutorial in my online school from two years ago. However, I wanted to give it as a gift to you this year! Cause… tis the season and I love showing appreciation for all of you who have been loyal readers.
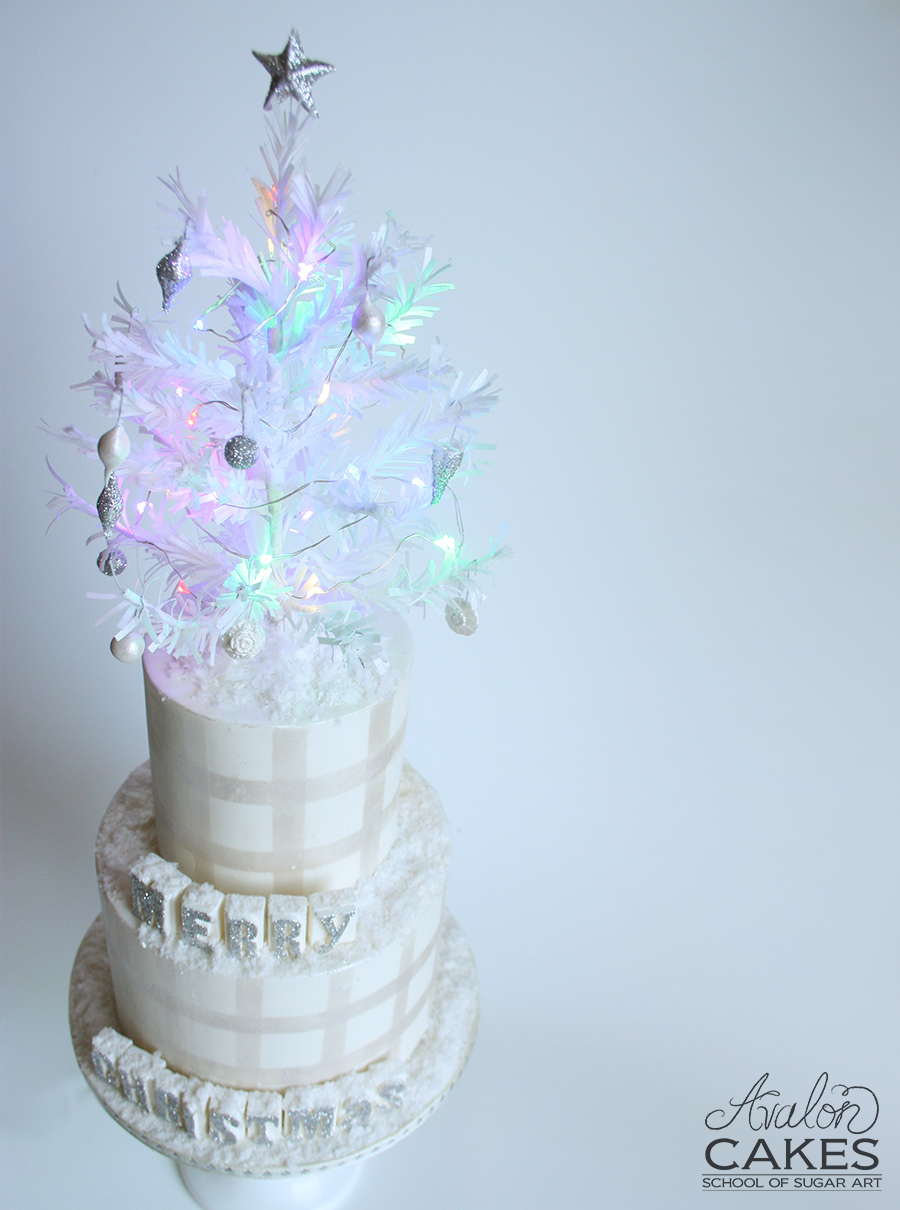
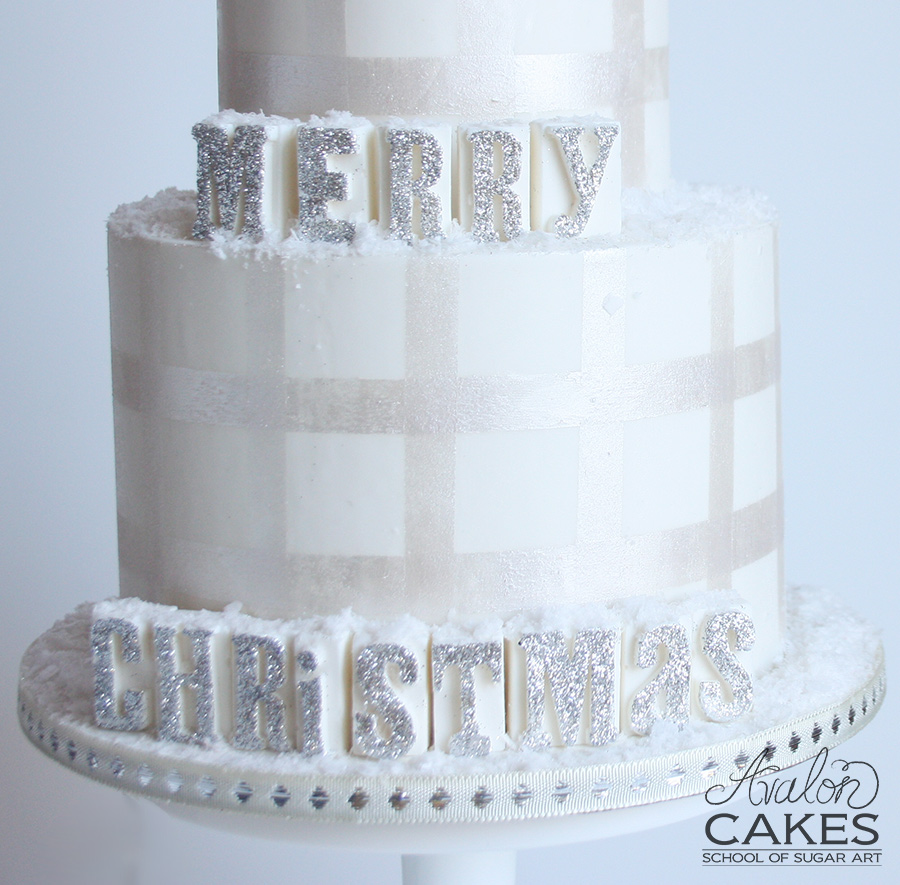
We’re right smack-dab in the middle of THE SEASON. Annnnd all your friends are asking you to make a cake…right? Because you’re the “cake person”. So, nope, no break for you my friend 😉 However, this tutorial is a super fun – and easy – Christmas Cake tutorial for you!
Hope you can find these techniques useful in other cakes besides Christmas cakes too.
As always, if you enjoy this tutorial be sure to let us know in the comments! 🙂
You'll need:
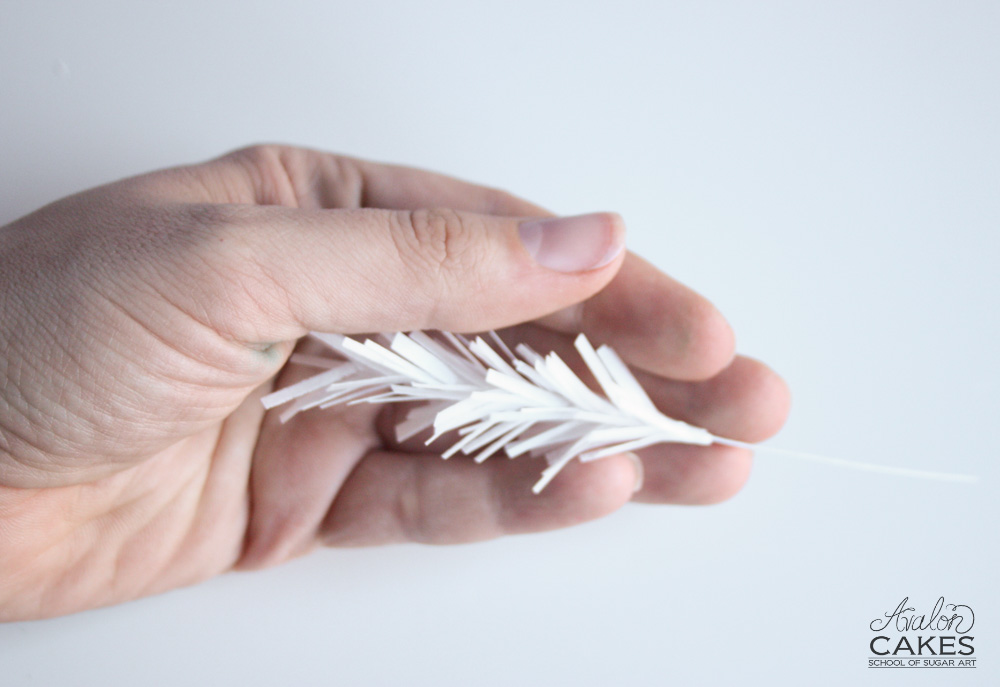
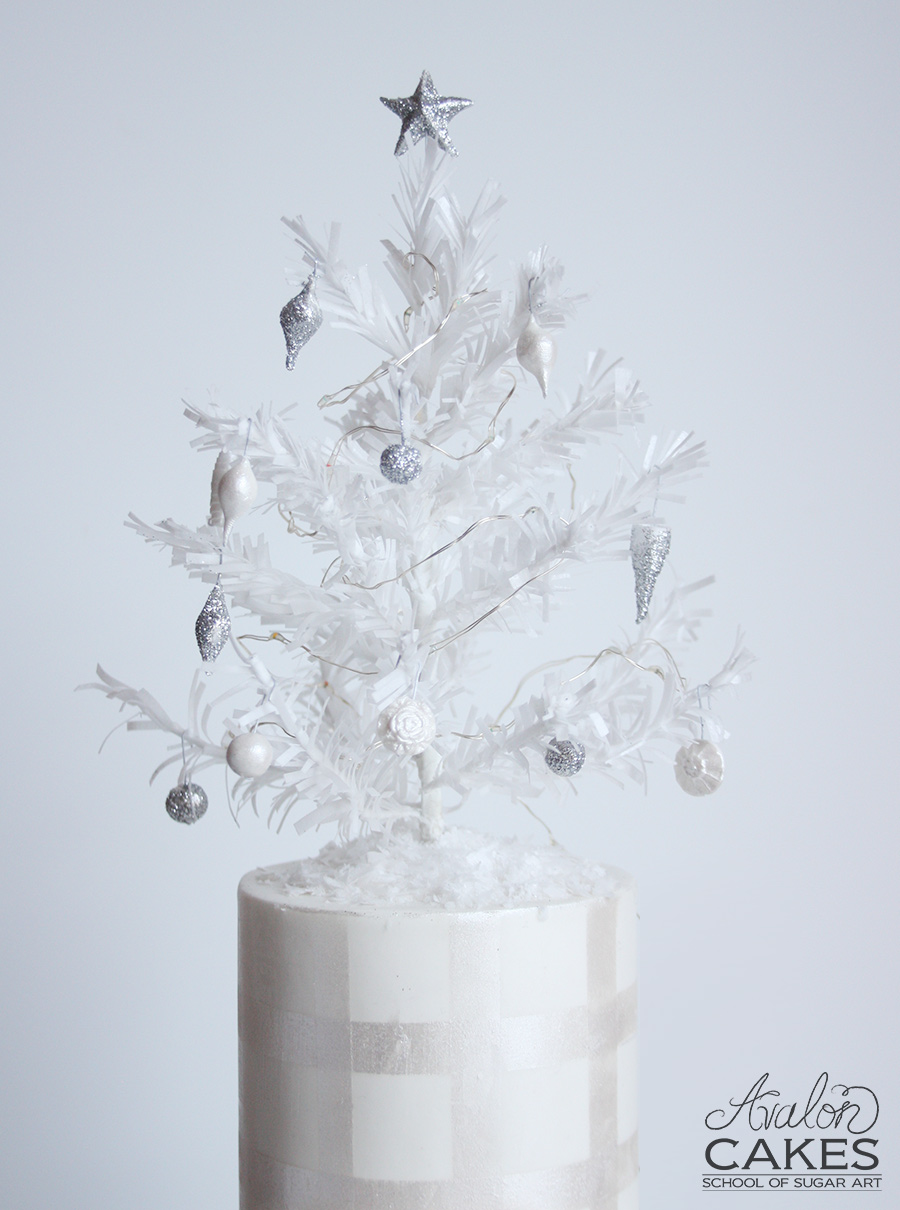
2. Twist together 4 spruces. One should be pointing up, while the other three fan out in equally spaced directions.
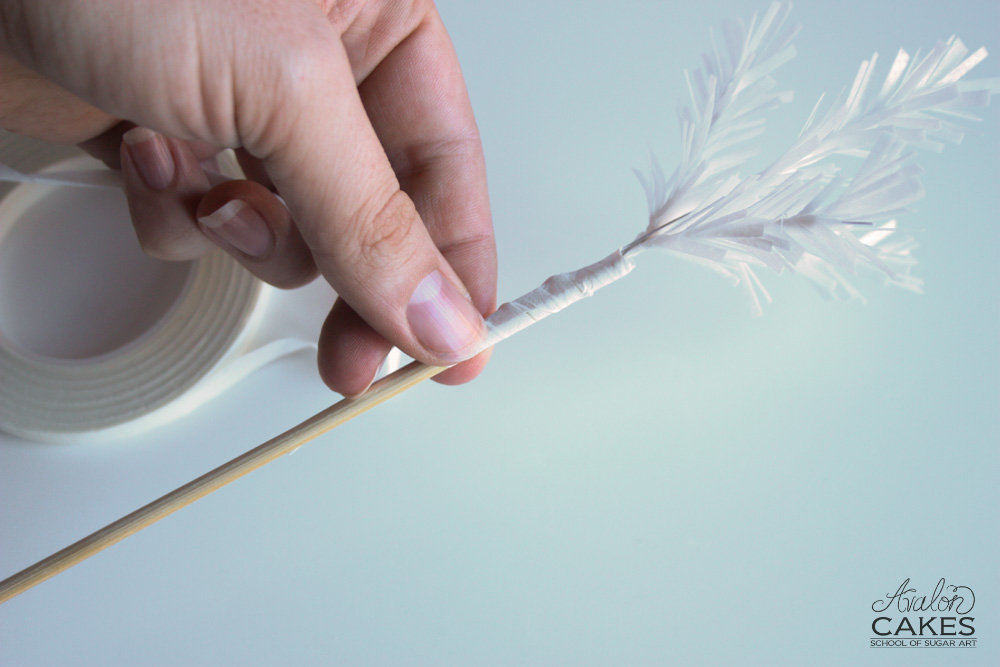
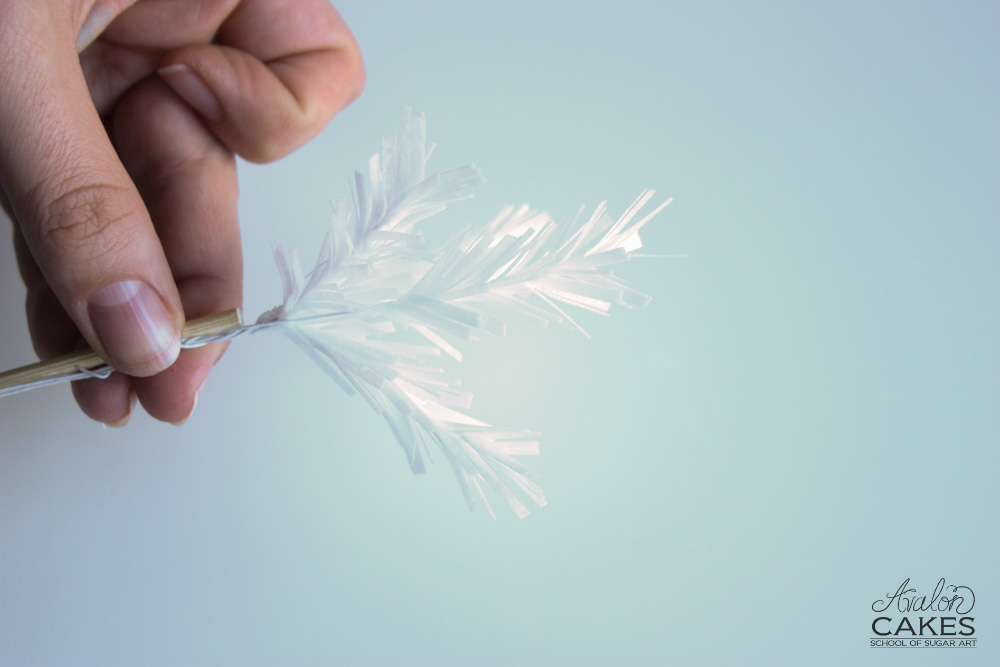
3. Using floral tape, tape them to a skewer (or thin dowel).
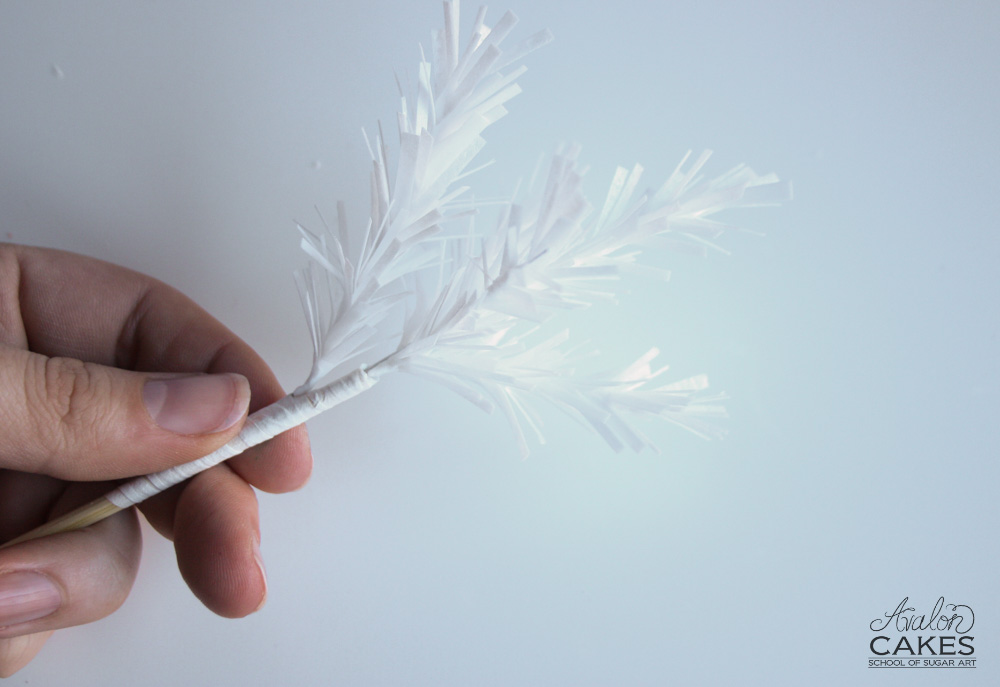
4. Start adding extra branches, taping as you go down the skewer. You want to make sure you use your shortest spruces towards the top and gradually get bigger as you go down. You want the number of branches in each layer to increase as your make your way down the skewer. For example, I started with a layer of 3 at the top, the next layer I will do 4, the later after that will be 5-6, and so on.
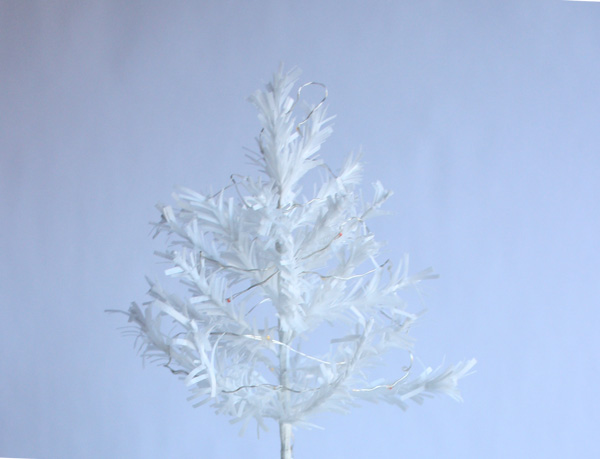
5. Once you have all 30 branches, move them around and trim them to achieve your desired tree look!
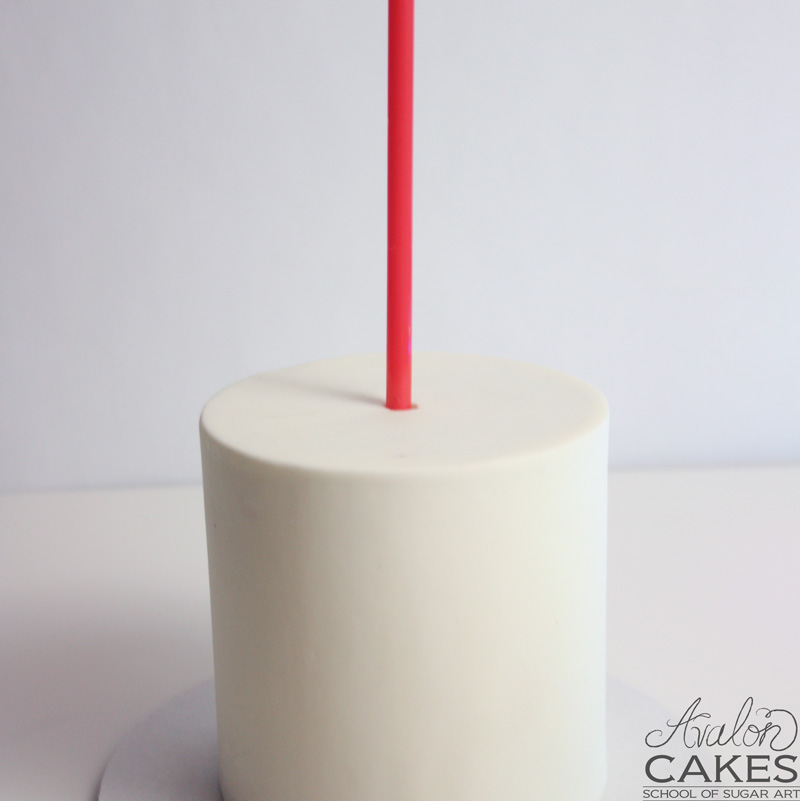
6. Push straw down in through the center of the cake. This straw will take out the excess cake in the center. Remove straw and throw away (because it's filled with cake and we need it to be clean and clear). Put another clean straw in it's place. Do this on both tiers and their boards. On the bottom tier you want the straw to also go through your baseboard.
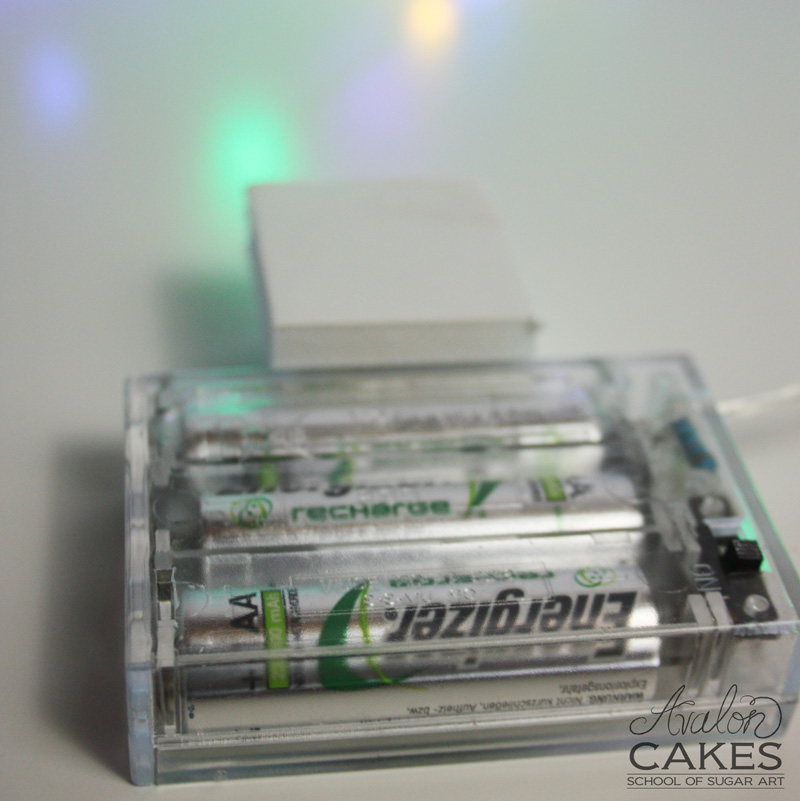
7. Make "feet" for your base out of foam core or wood blocks. I'm using 2 1/2" thick pieces. They need to be taller than the battery pack! Hot glue feet and battery pack to the board.
8. Feed the LED light strand through the straws, first the first tier and then the second. I have this upside down for demo purposes, keep it right side up.
Once you have it up through the second tier, string your lights just as you would on any christmas tree!
What you'll need:
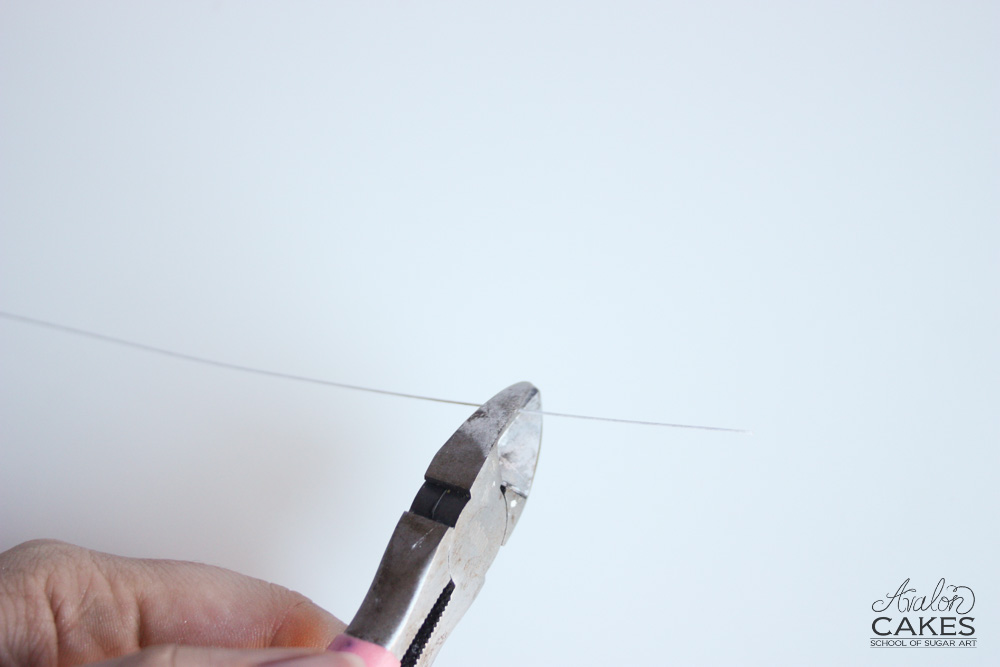
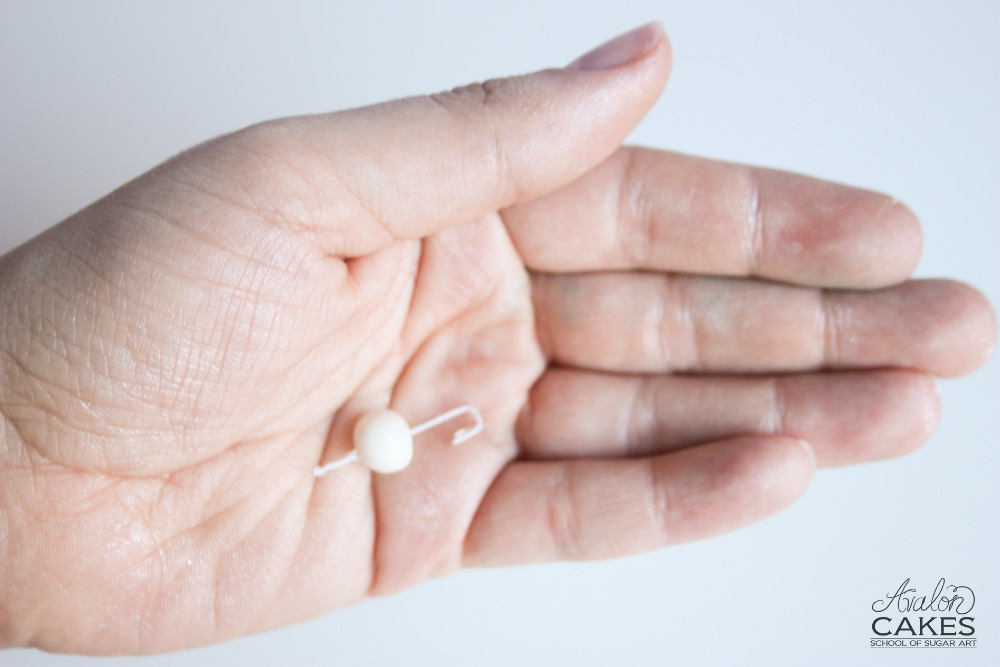
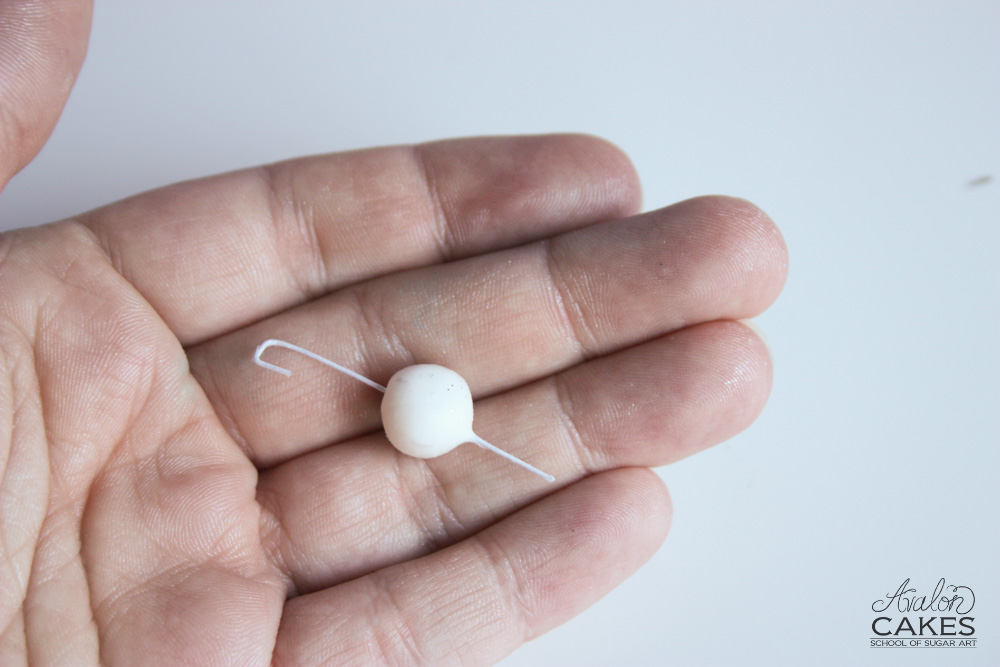
2. Bend over one end of the wire with your needle nose plyers to make a hook. Make a ball of fondant to your desired size. Push the wire through the ball of fondant.

3. Create a hook on the other end and then push the ball down onto the hook until it's flush.
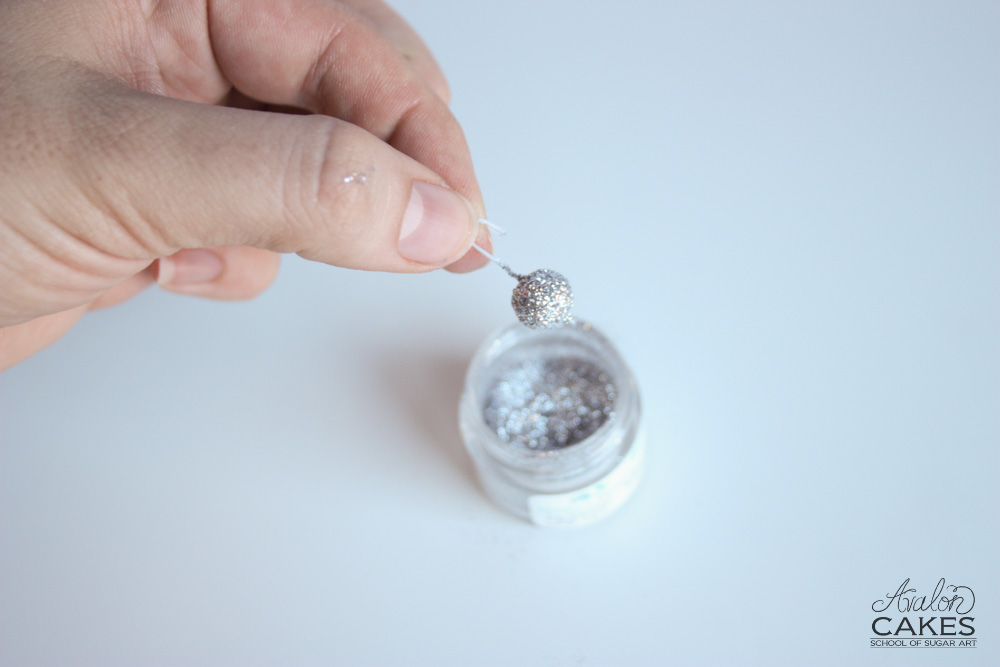
4. Brush with a little bit of water or shortening and then dip into your glitter!

2. Put a little shortening on your hands and start to shape the ball to a point on both the bottom and the top.

3. Trim.
4. Add luster!
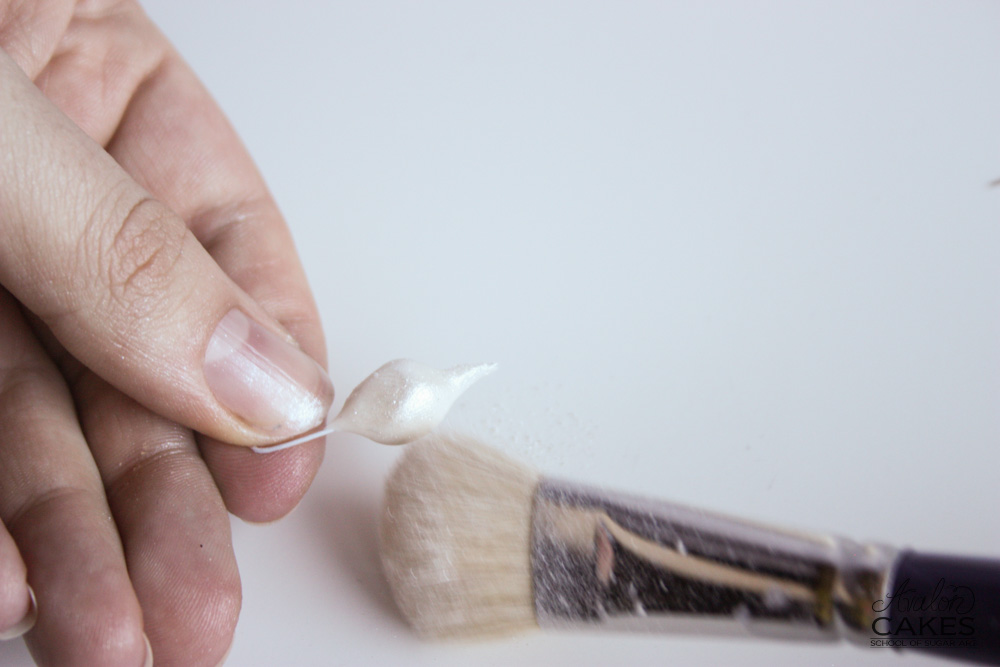
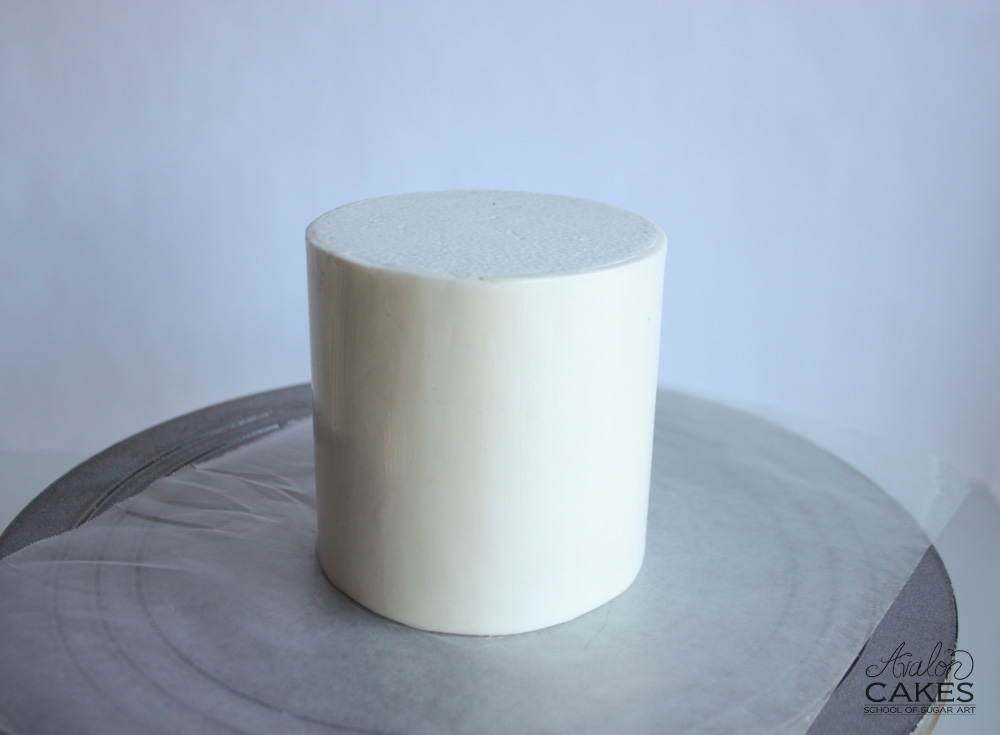
What you'll need:

2. Start placing your horizontal strips. I start with the bottom and make sure it's flush with the base. Be sure to SMOOTH your wax paper to the surface so that it is nice and adhered! You don't want any luster sneaking in where it shouldn't be.
Then line the next strip flush to the top edge of the cake. For the middle strip, I carefully eye ball it. The great thing about shortening is that it is forgiving, so you can move it around as needed.
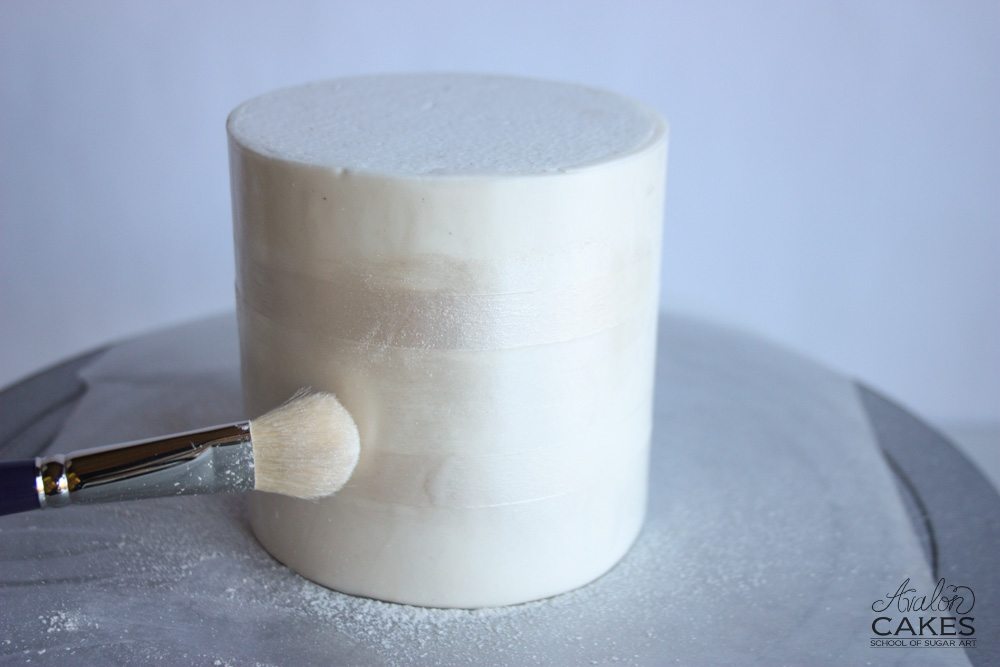
3. Next, take your fluffy brush and start dabbing on the luster. You want to load it up, and then lightly brush away. Because we have shortening all over our cake, this will stick nicely to the shortening.
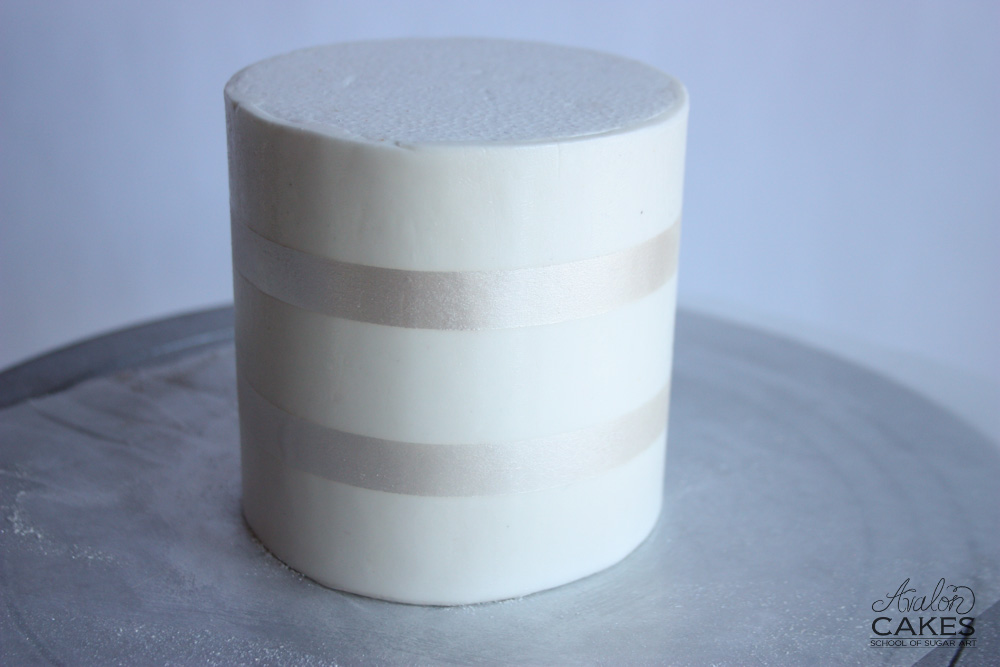
4. Remove the strips to reveal nice clean stripes! Now... on to the vertical...
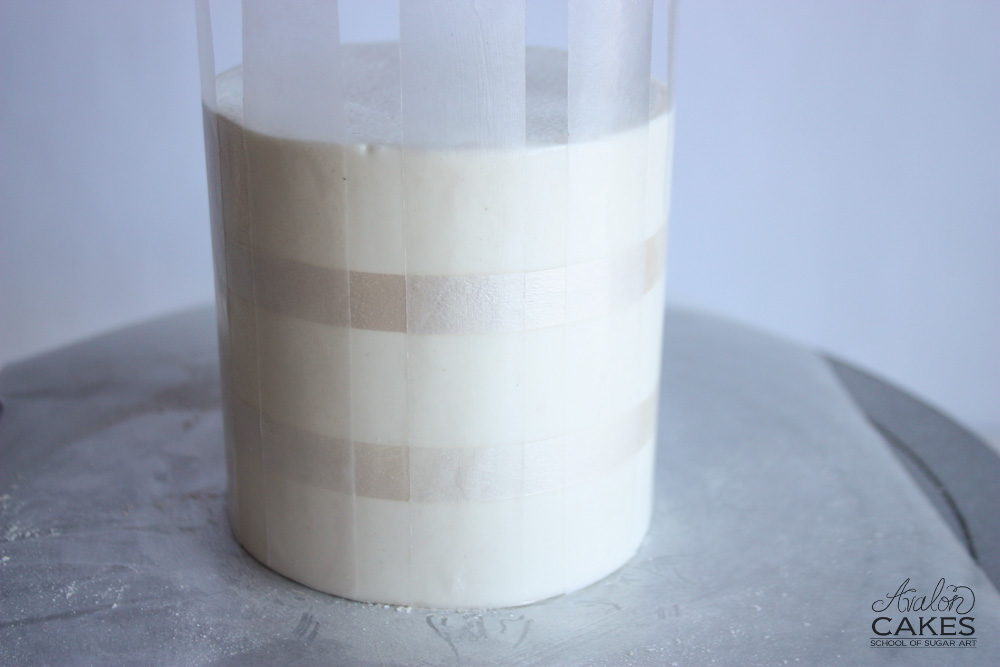
5. For the vertical strips, I will actually add a little bit of shortening the wax paper itself. This helps because the areas that have the luster on them aren't as sticky anymore. When adding the vertical strips, pay attention to keeping the revealed width the same size as the horizontal. A right angle triangle can often help make sure those lines are straight.
Repeat with the luster dust.
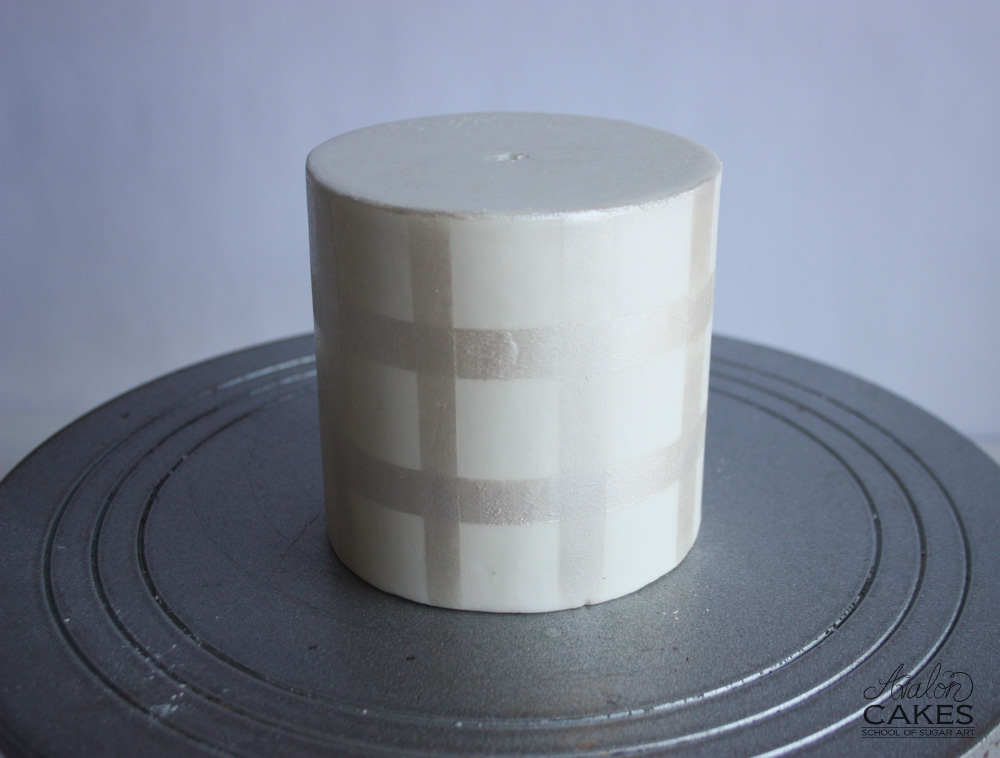
6. Ta-da! A pearlized plaid.
What you'll need:
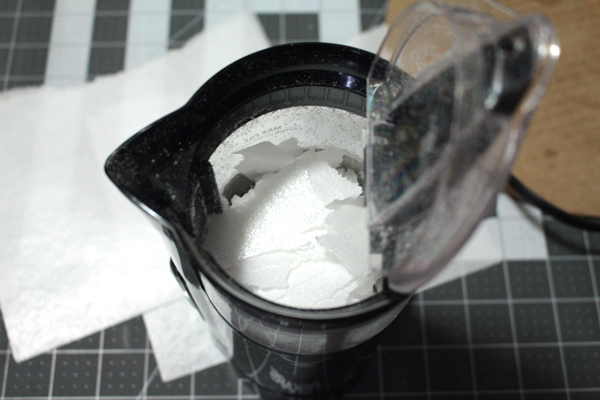
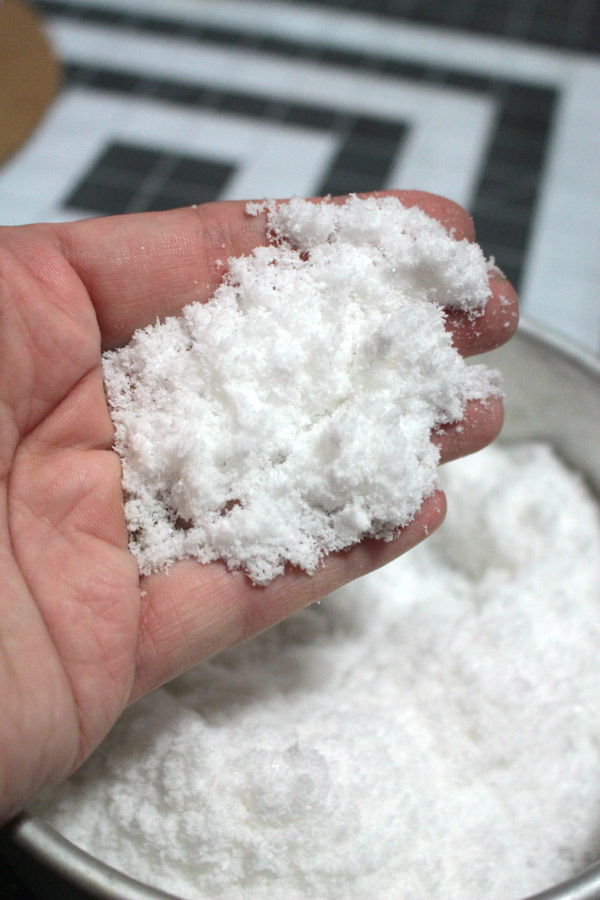
2. Easy peasy light and fluffy snow!! Images courtesy of the lovely Kara Andretta from Kara's Couture Cakes! Go check out her adorable Penguin tutorial when you can 🙂
Last modified on January 27th, 2023


I'm Avalon -- and I'm not your typical cake decorator. I'm obsessed with fusing the world of ART and CAKE. Sugar is my canvas. If you're down to get messy and dive into a whole new level of cake, take my virtual hand, cause I've got so many secrets I want to show you! learn more>>

Join 1000s of others in our Online Cake School and learn how to make incredible sugar art!


