For the longest time I used 2" pans without a parchment collar. I always found myself a bit frustrated with the finished height of my cakes. Just a littttttle taller. I mean, tall is in, am I right?
So I started using parchment collars, allowing my cakes to climb to the sky where they belong. Much happier now. 🙂
Would you like to join me in my happiness? Here is how I prep my pans.....
First, I figure out the circumference of my cake. Note: Be sure to add an inch or so for overlapping, you want your parchment to overlap a little.
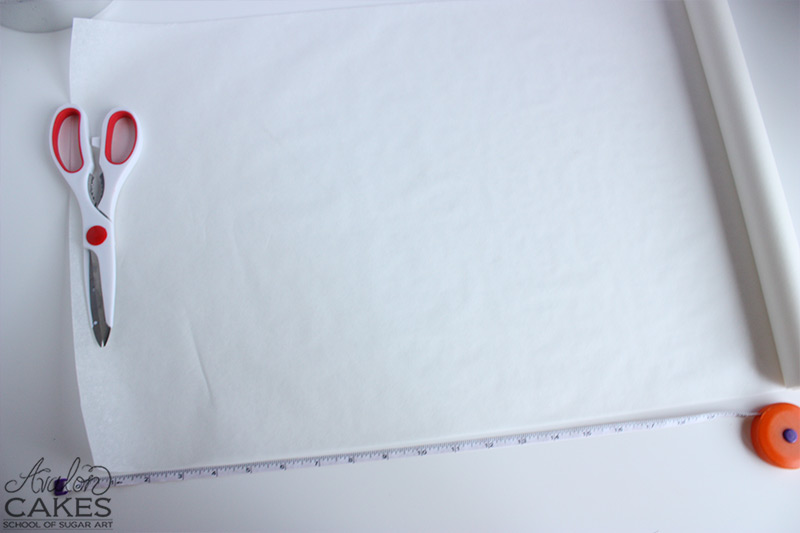
I start by measuring the circumference of my cake pan, you can use the side calculator for this! Add an inch and cut your parchment across.
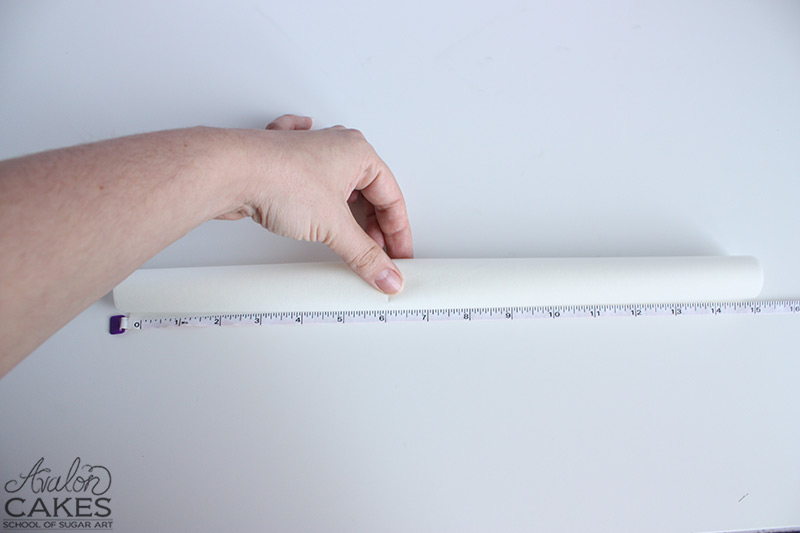
Next, roll up the sheet into a tight roll. Cut it into 3" lengths with your scissors.
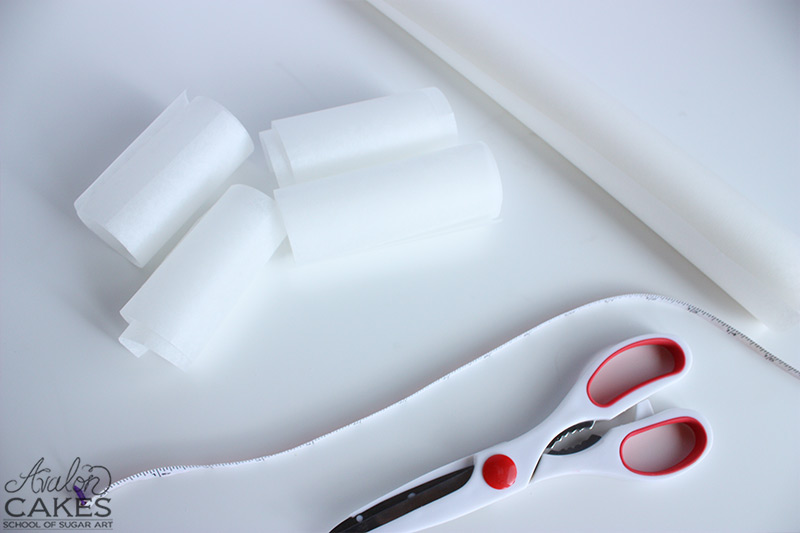
Now, we have five parchments for our 6" pans. I am only using two for my cake, so I'll save the other two for another occasion.
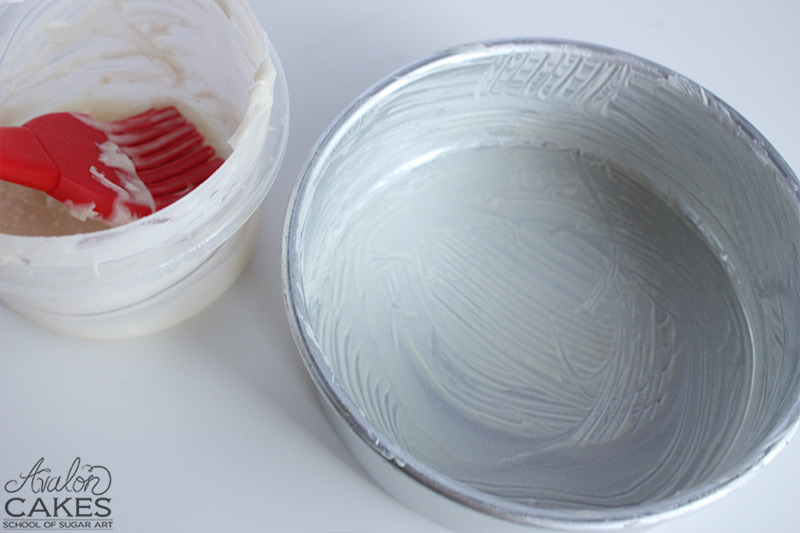
Next, I'll take the goop pan release and coat the entire pan. This will help the parchment stick to the side of the pan. I do not use parchment on the bottom of the pan, I just use the goop. (Recipe included at the end!)
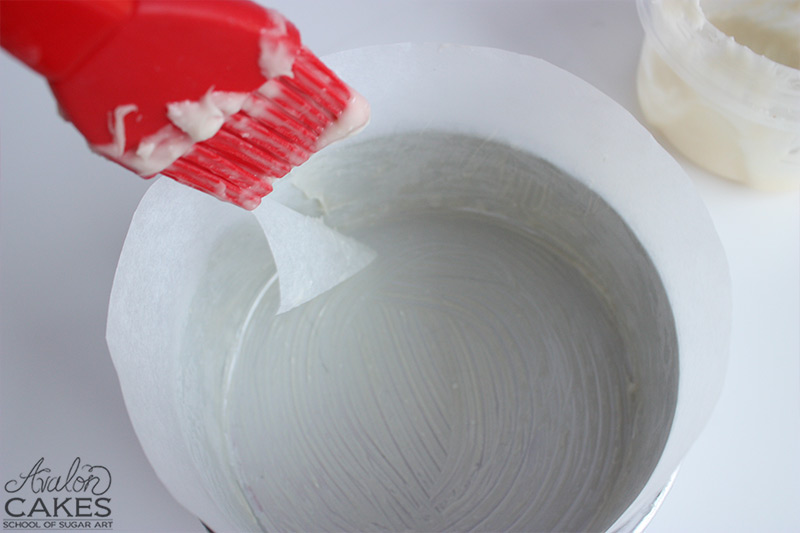
I will put a little bit of goop in between the overlapping pieces to keep the edges in place.
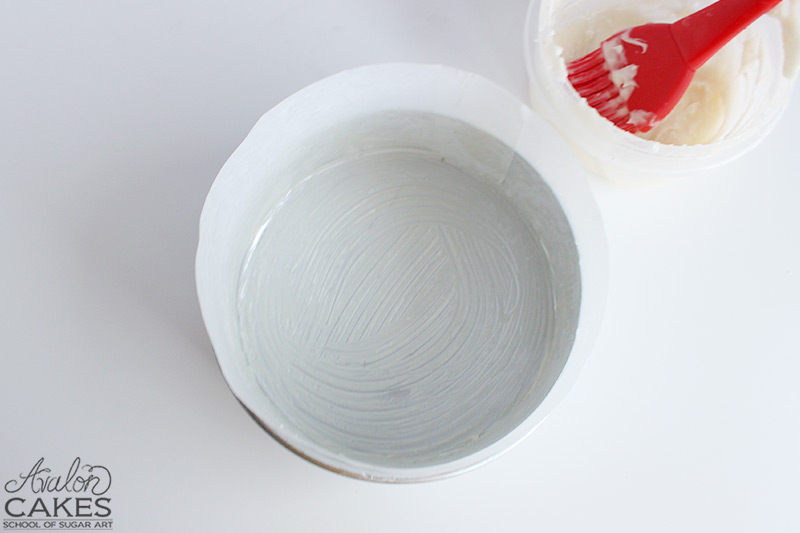
And BAM... it's ready for your cake batter! Easy peasy.
Last modified on January 6th, 2023


I'm Avalon -- and I'm not your typical cake decorator. I'm obsessed with fusing the world of ART and CAKE. Sugar is my canvas. If you're down to get messy and dive into a whole new level of cake, take my virtual hand, cause I've got so many secrets I want to show you! learn more>>

Join 1000s of others in our Online Cake School and learn how to make incredible sugar art!


