So you’ve been asked to make a cake. Heck yes, you’re thinkin’, that is in fact what I love to do. 😉 But then it comes down to making it and you've realized the mold you thought you had (you know the one you THOUGHT you bought?) isn't actually in your possession. Or maybe you just don't want to spend extra money for a mold that you might use, I don’t know, maybe twice, ever?
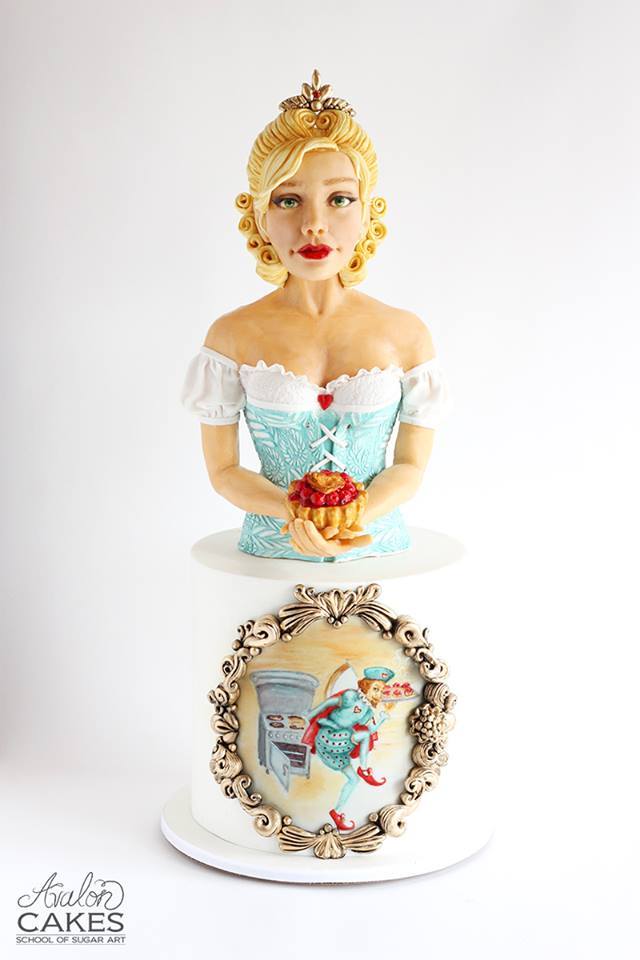
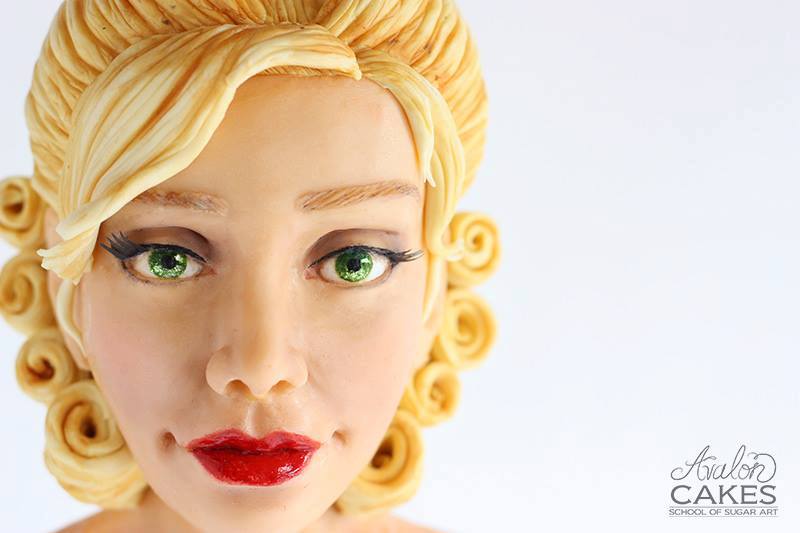
Well, that's what happened to me when I was making my "Queen of Tarts" cake! (btw I have a very detailed tutorial of how to sculpt the face here)
No molds... coulda swore I had some, but, I didn't.
So it was up to me and my hands!
So, if you find yourself in my position, or decide you don't want to drop bags of cash on some one-time-use molds... don't worry, I got your back...
Oh-la-la gold rococo-styled filigree frame without any molds!
All it takes: your capable hands, some simple shapes, a Dresden tool and maybe a glass of wine (or a piece of cake, obviously) to help you get through it 😉
 Firstly, start with a ball of fondant the size of a dime
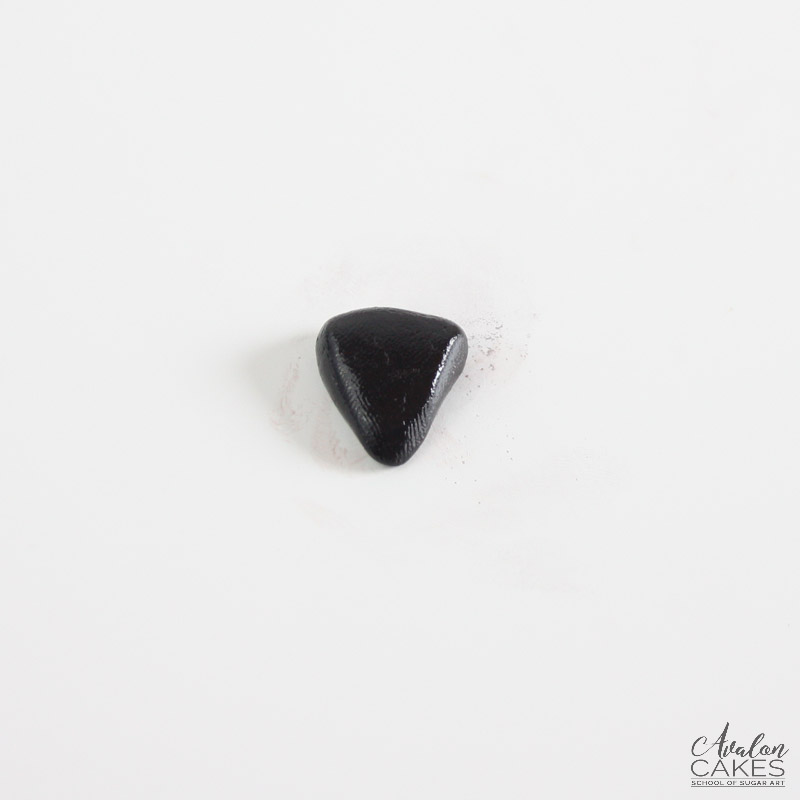
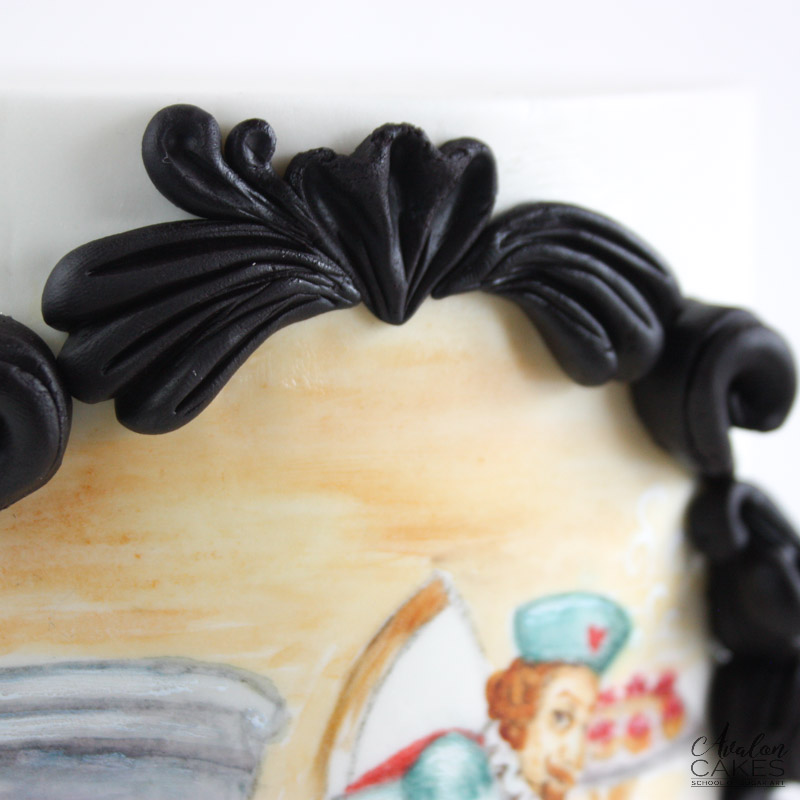
Now, mold it into a triangle by pinching with three fingers.
Taking the fat end of your Dresden tool, make an indentation in the center.
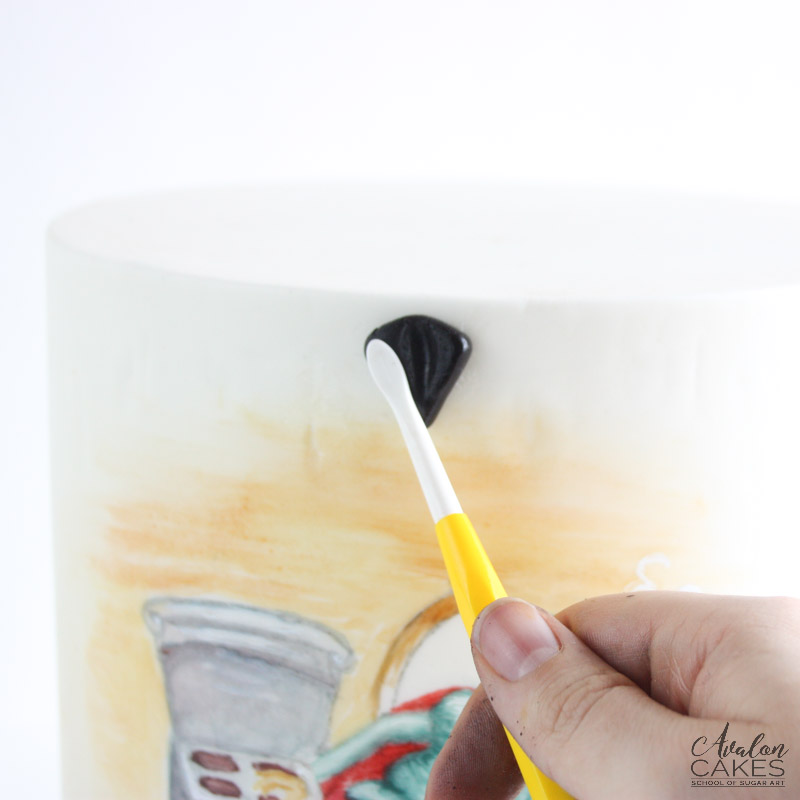
Make another on each side, creating three fanning off from the center bottom point.
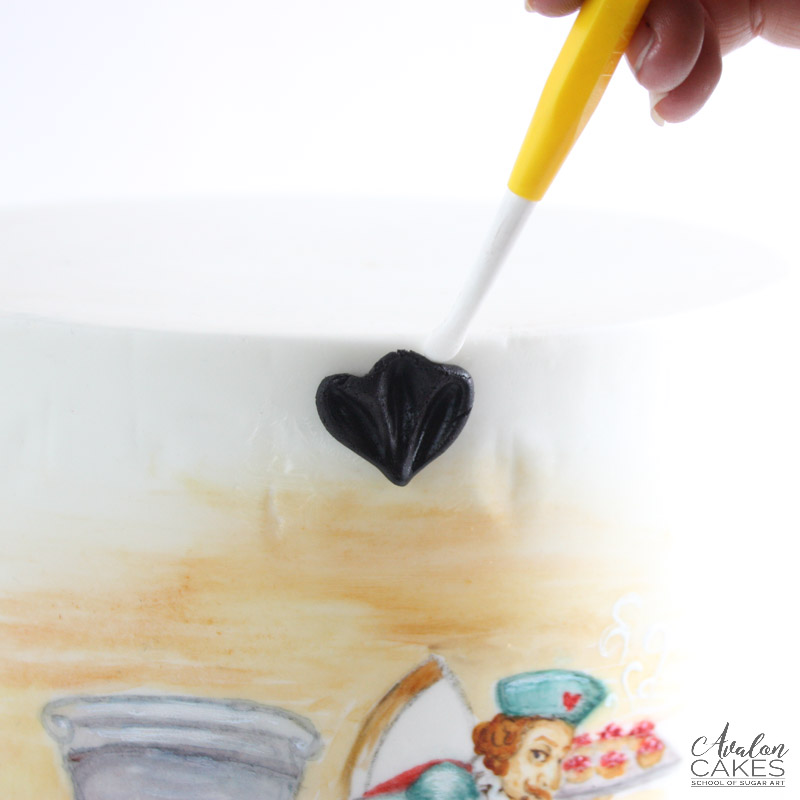 Between the indentations, press down from the top to create a separation.
 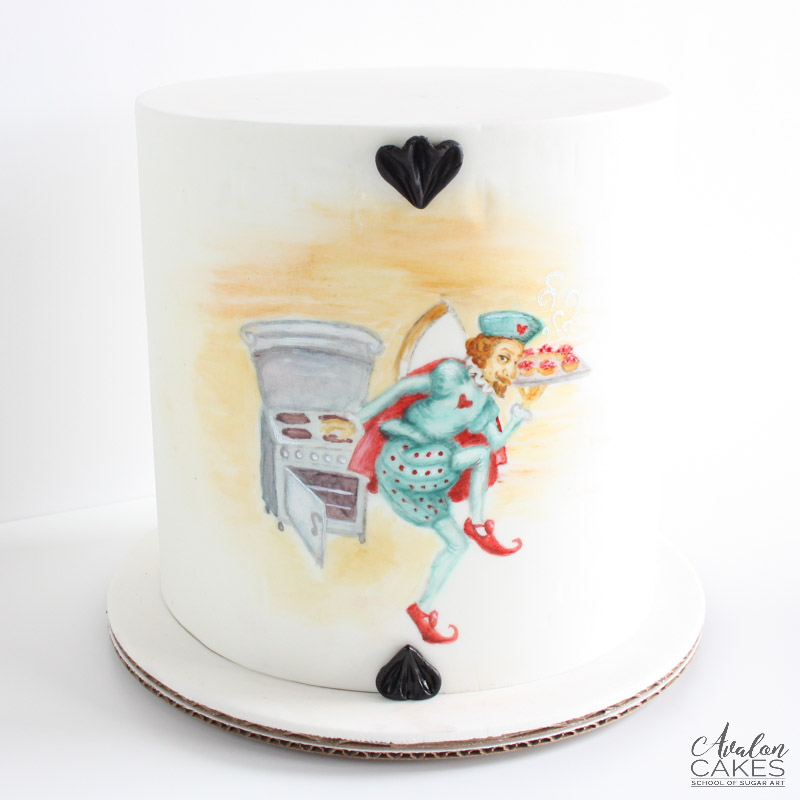 Repeat again for the bottom. Place as shown.
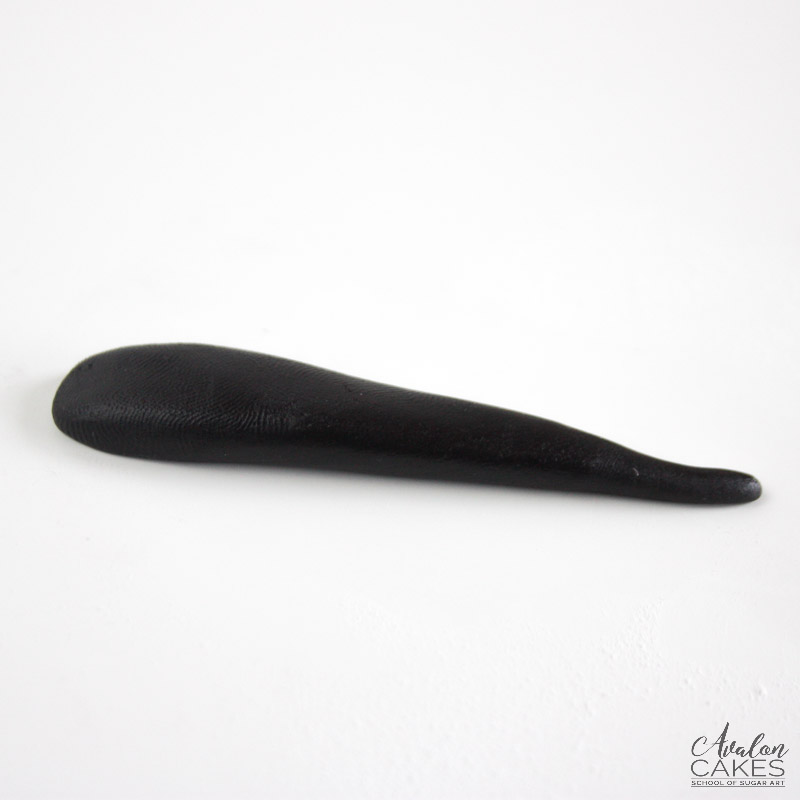
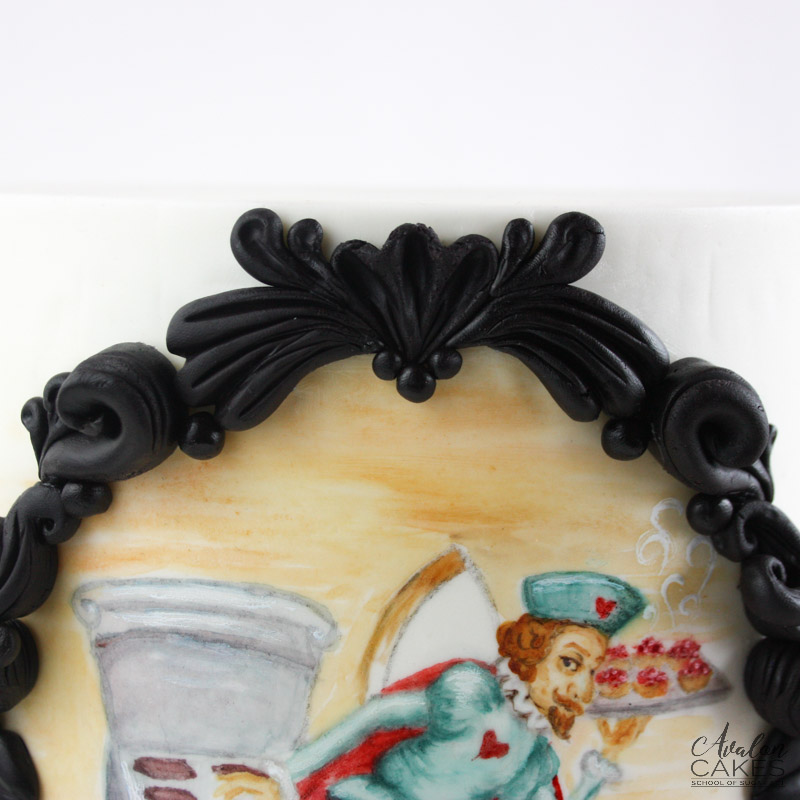
 Take another ball, and make a tear drop shape by tapering one end.
 Flatten it slightly with your thumb. Then, using the sharp side of tool, separate it into three different areas.
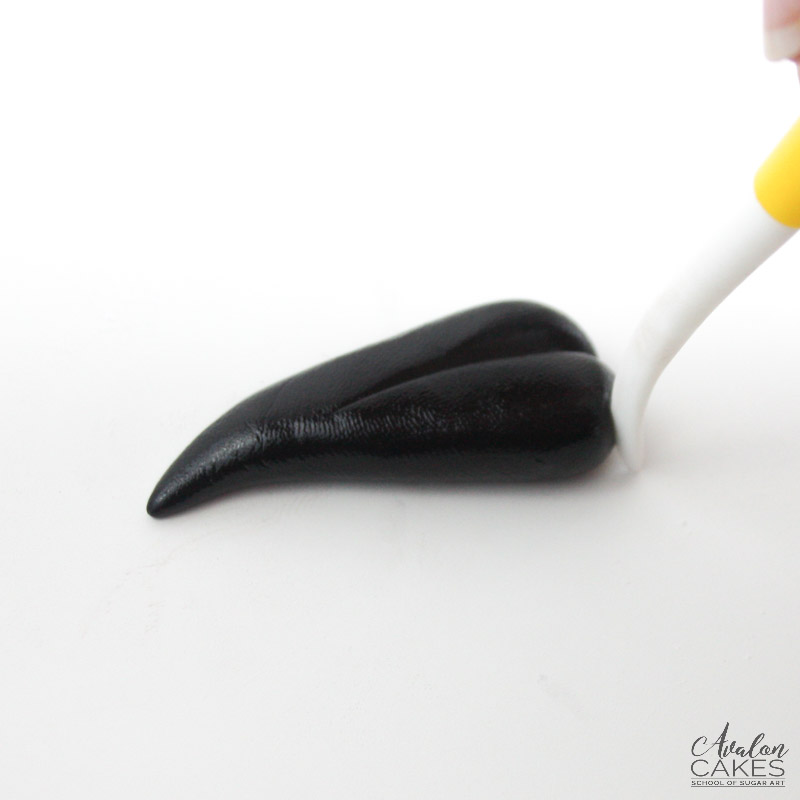 Start with the sharp end on the table, and rock it forward creating a continuous look around the edge. This should create the look of three tier drops, yet still connected.
Now, create some lines within the teardrop shapes to help add more detail. (this will make it pop later when we add the gold).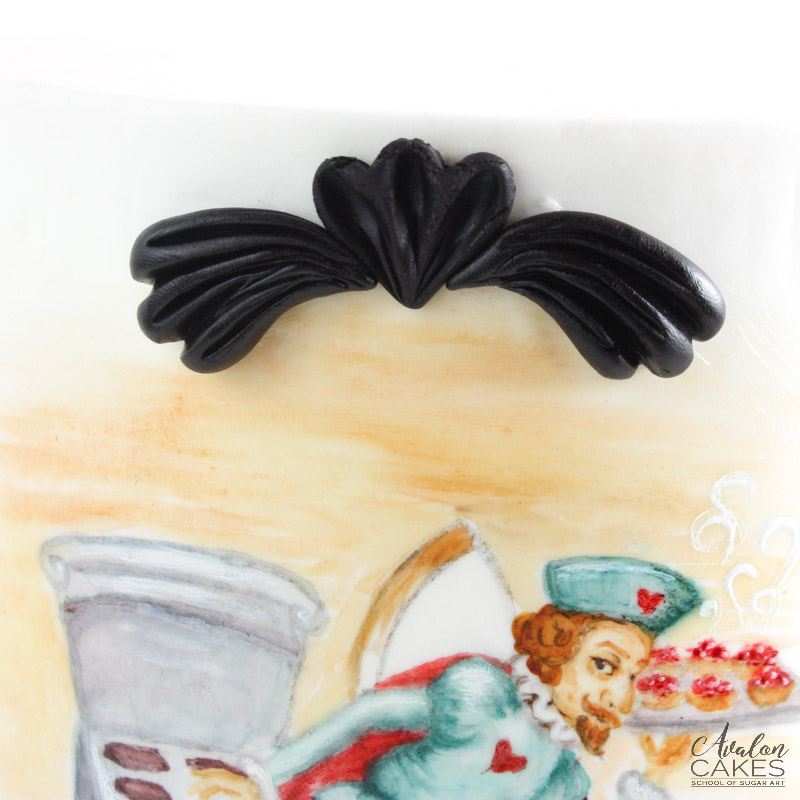 Now, place it on your fondant with a little bit of water or piping gel and repeat the process on the opposite side.
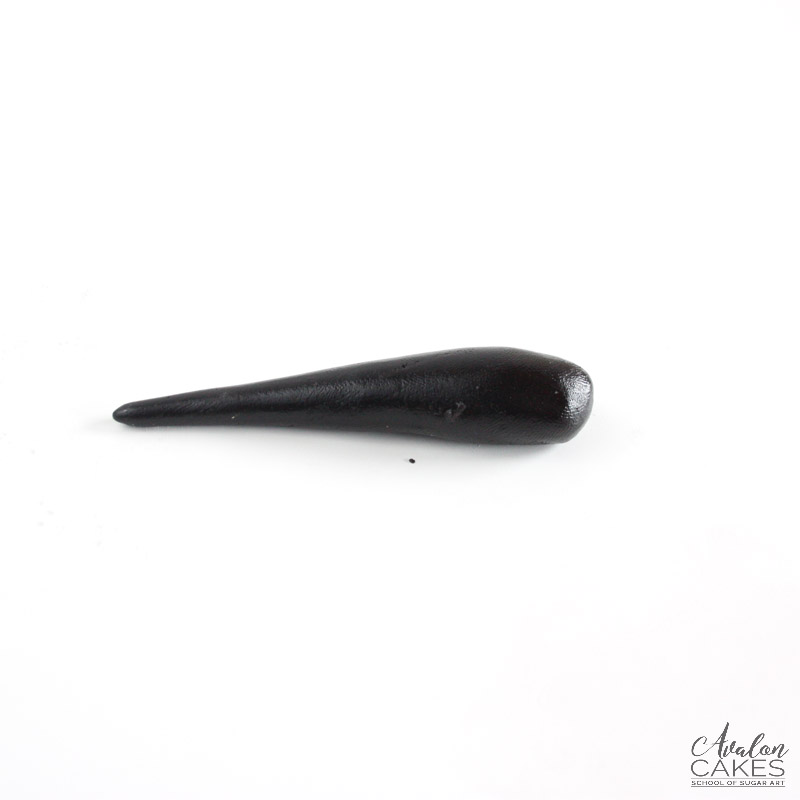 Take another ball, and make a tear drop shape by tapering one end.
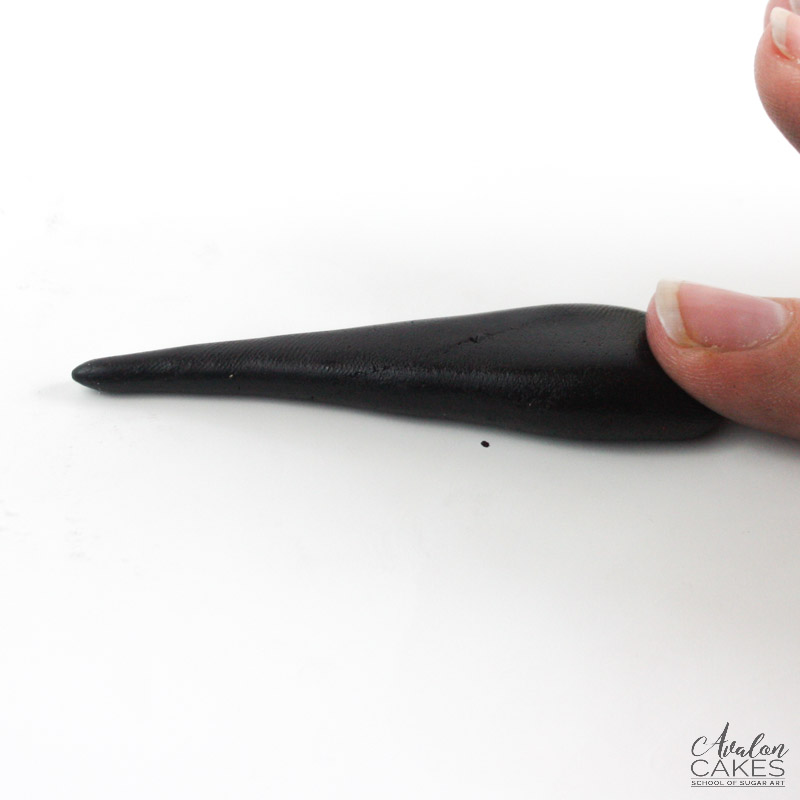 Flatten it slightly on top and then again on the edge (as pictured).
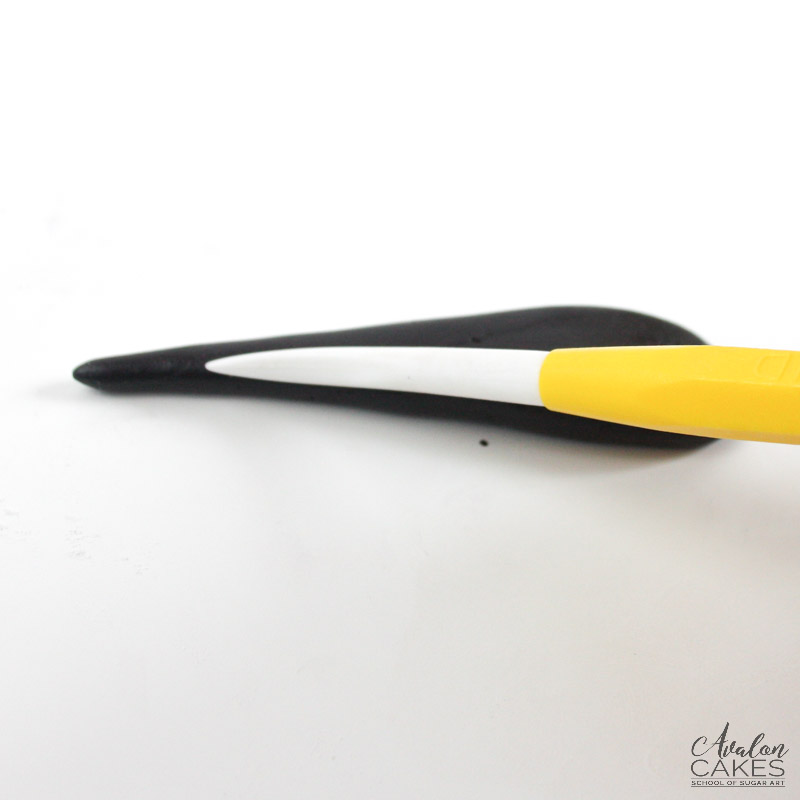 Create lines using the sharp end of the dresden tool.
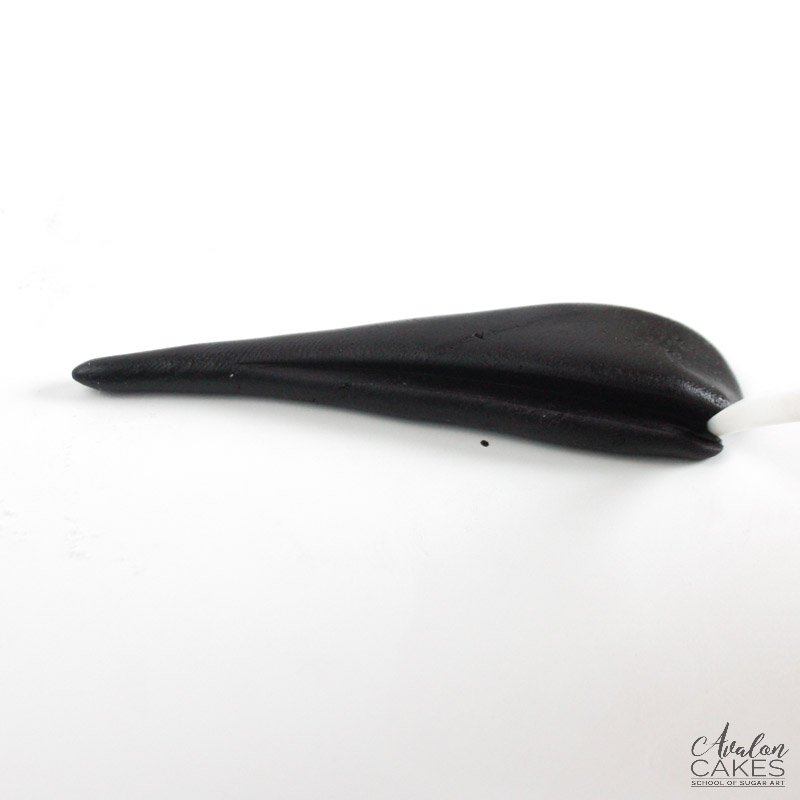 Like so.
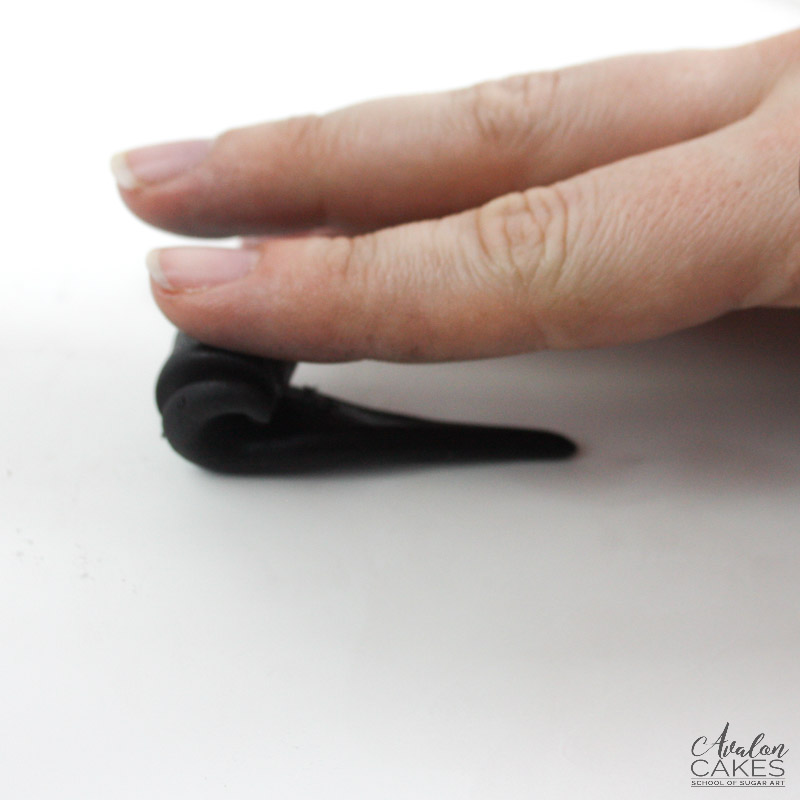 Flip it, and curl up the fat side towards you.
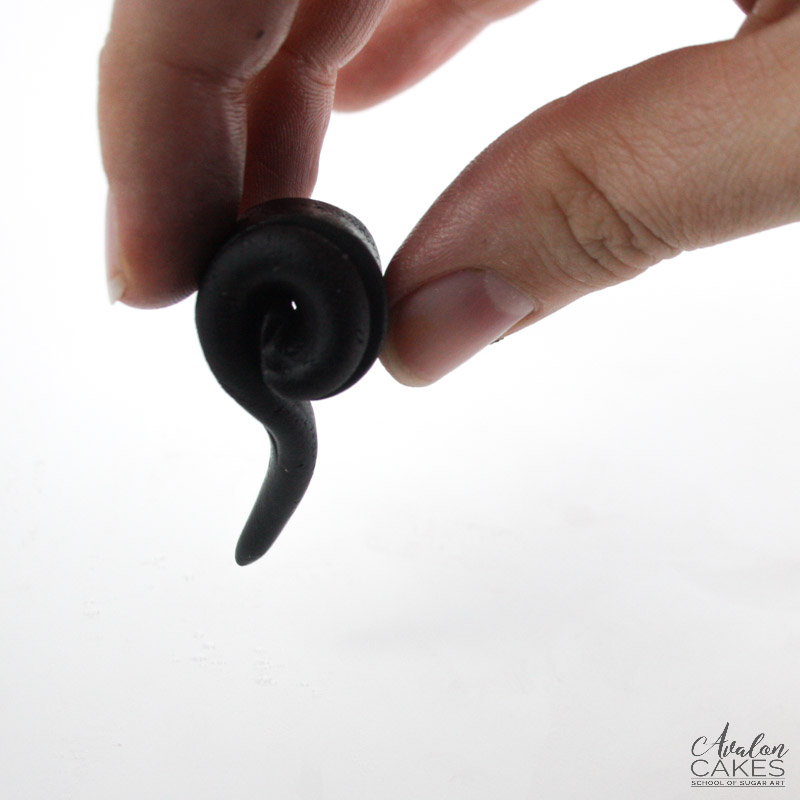 Like so.
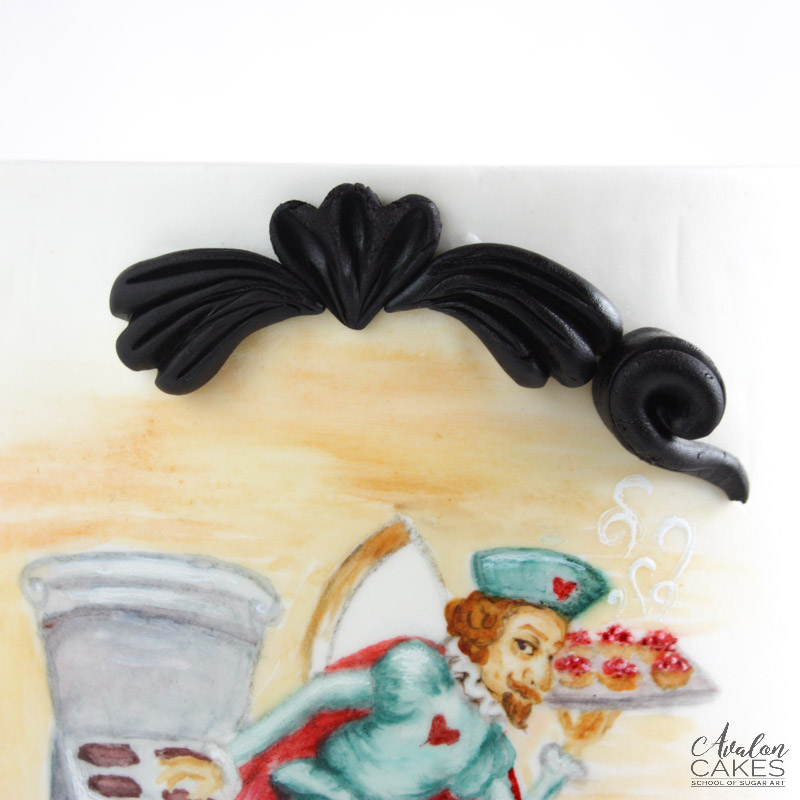 Repeat for multiple areas of the frame, as needed.
 Repeat the same steps as before….

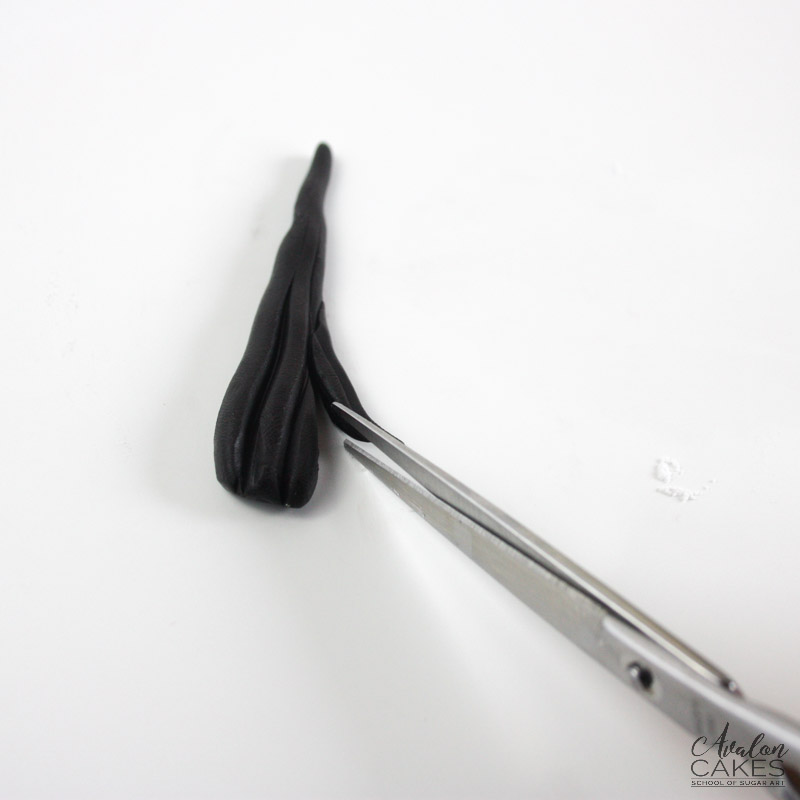 However, this time cut out a sliver of the tear drop.
 Curl one side one direction.
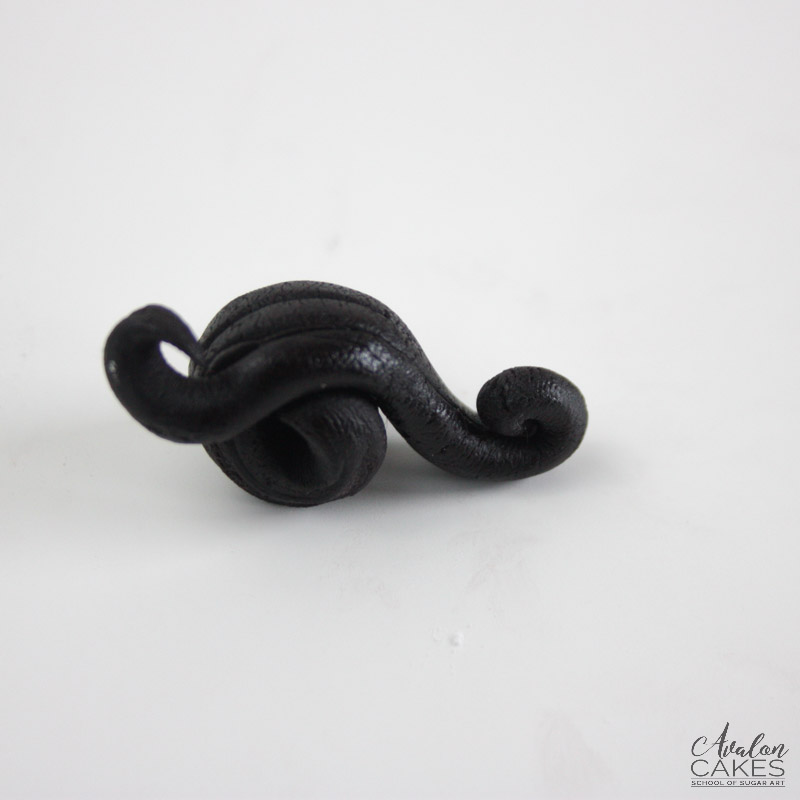 And the other side the opposite, along with the sliver. Like so.
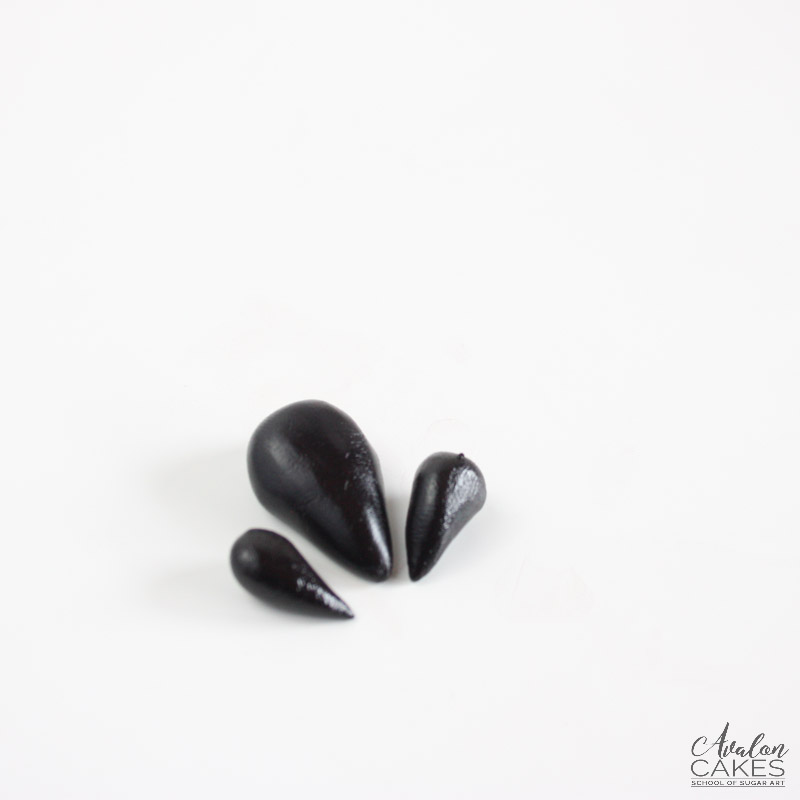 Create tear drops.
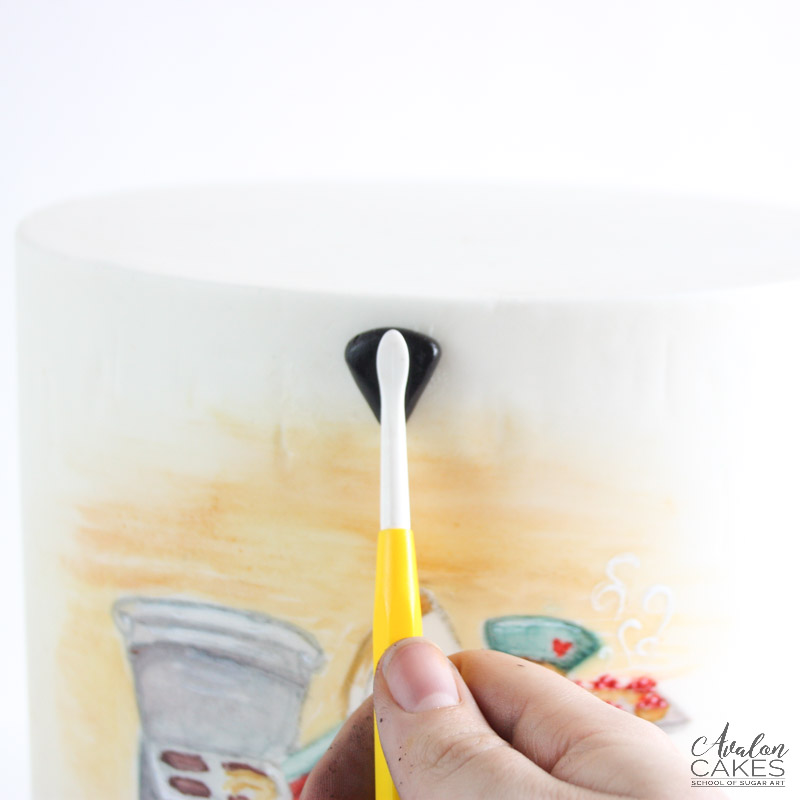
 Add them straight to the cake with a little bit of water.
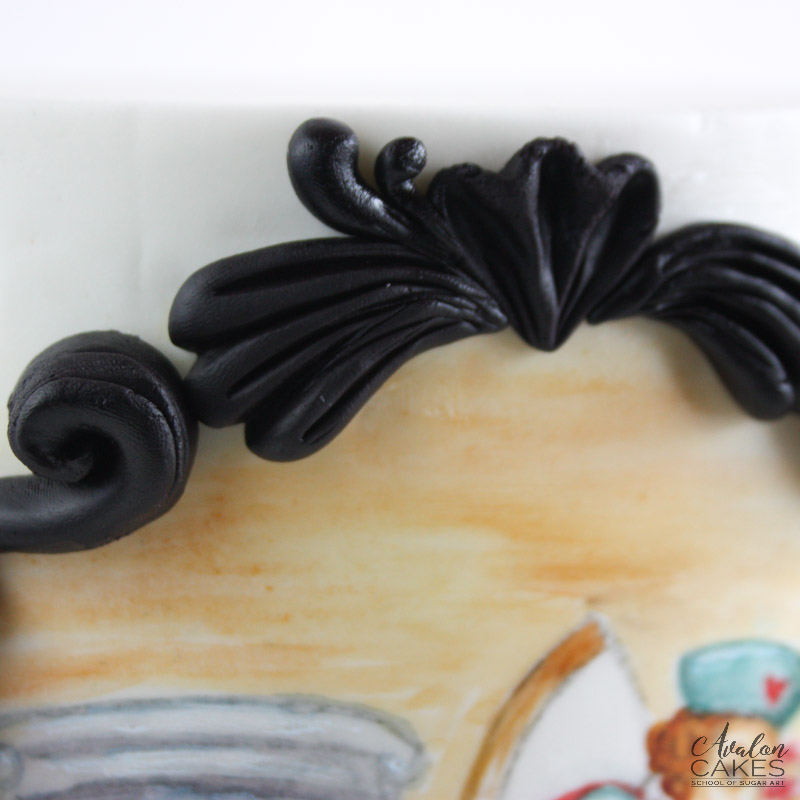 Add more accents, such as smaller tear drops, stacked.
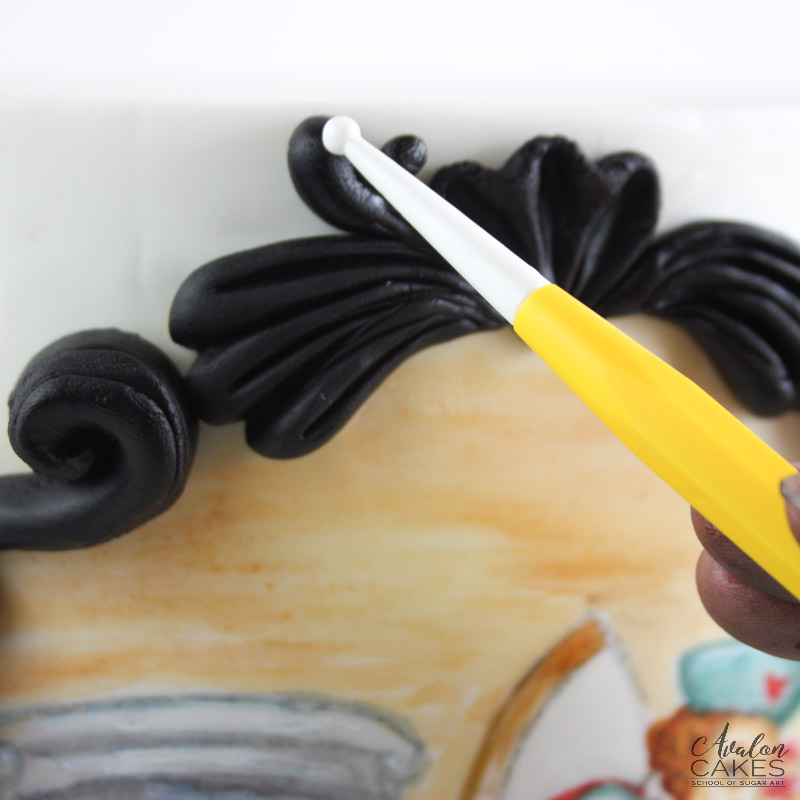 Next, create detail with simple indentations through the center.
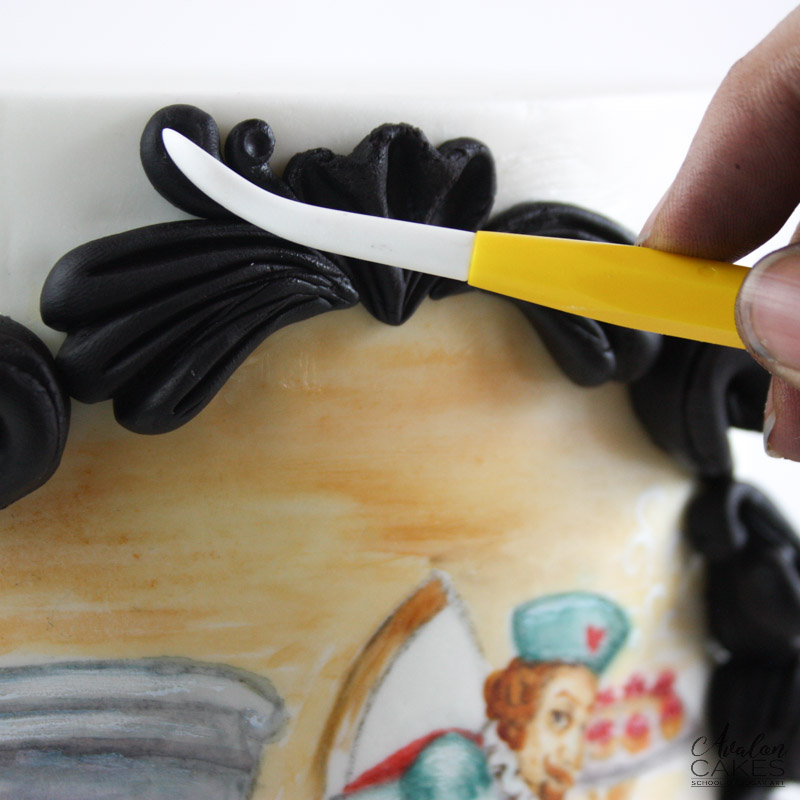
 Make some balls and place them throughout the cake as accents.
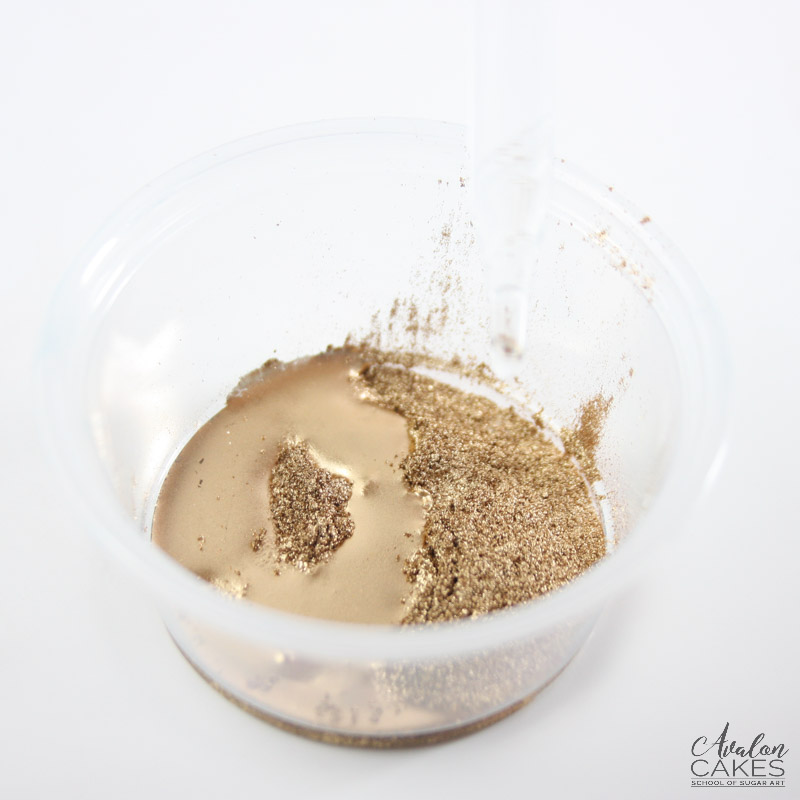 Mix gold highlighter with vodka, or everclear, until it's paintable. Practice on a scrap first before you add it to the frame, you want to make sure it looks like the right opacity!
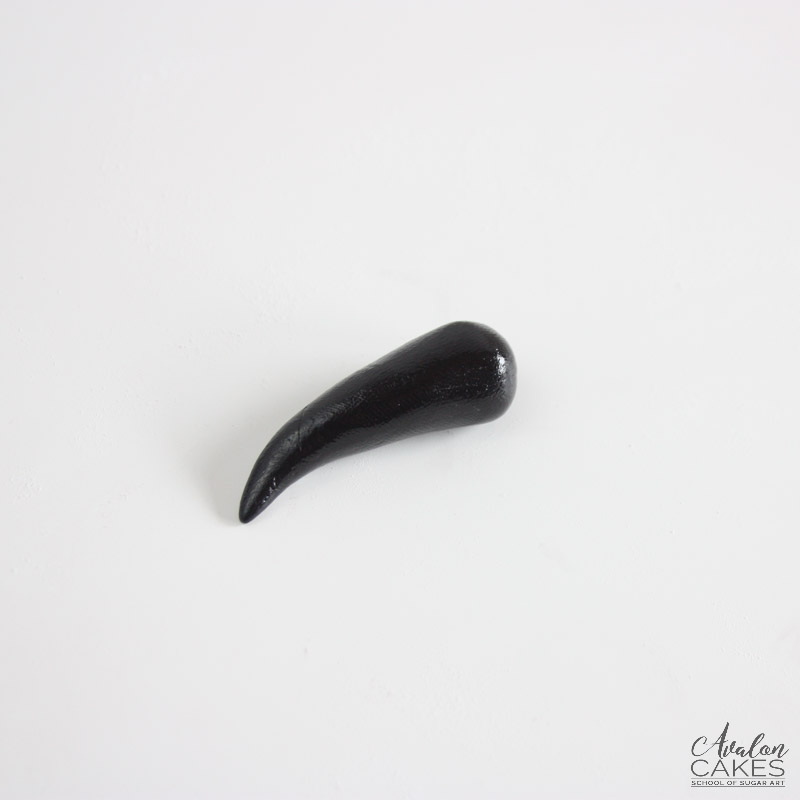
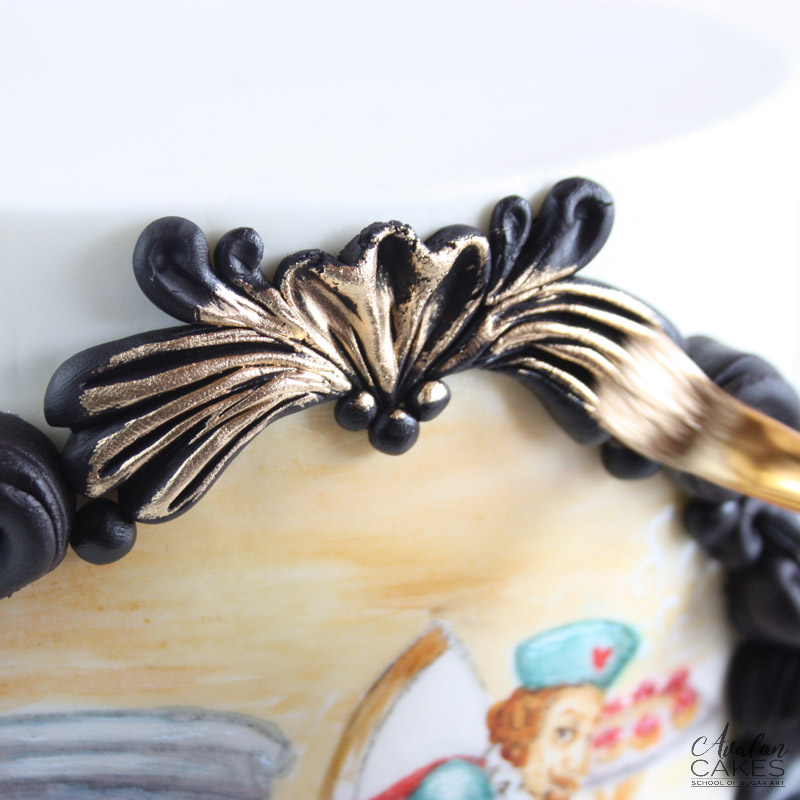 Using a flat paintbrush, begin to paint the frame. You don't need to get every nook and cranny, it actually increases the depth when some black is allowed to show through.
 And there is our no-mold, handmade, rococo-styled, filigree frame! Not as scary as it looks eh?[
Bada bing, bada boom, you guys! Check out how gorgeous that frame is and you didn’t even need to go to the store in a panic. Does that simplify your life a bit or what, right?! As always, if you give this tutorial a try, be sure to share pictures of your work!
Last modified on December 28th, 2022


I'm Avalon -- and I'm not your typical cake decorator. I'm obsessed with fusing the world of ART and CAKE. Sugar is my canvas. If you're down to get messy and dive into a whole new level of cake, take my virtual hand, cause I've got so many secrets I want to show you! learn more>>

Join 1000s of others in our Online Cake School and learn how to make incredible sugar art!


