Ok, show of hands, how many of you have ever made a character cake? Show of hands on how many of you finished making the cake only to realize it felt like something was missing. Don’t be embarrassed, because, well, it’s happened to the best of us...ahem, including me, haha!
So in the event that you ever find yourself in that little predicament again, have no fear. I am here to save the day with TWO accessories that will make any character cake go from semi-awesome to freakin-awesome! Feel free to call me the character cake accessory queen. Promise I will love & cherish my new title wholly 🙂

You'll need:
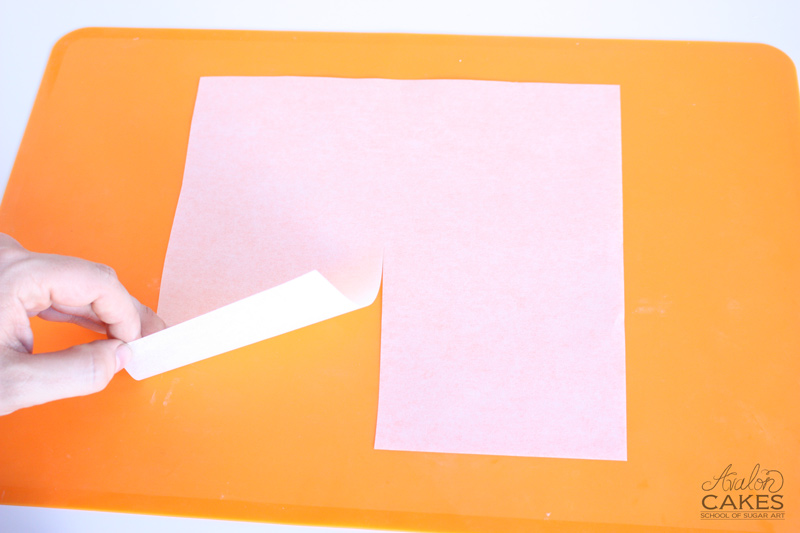
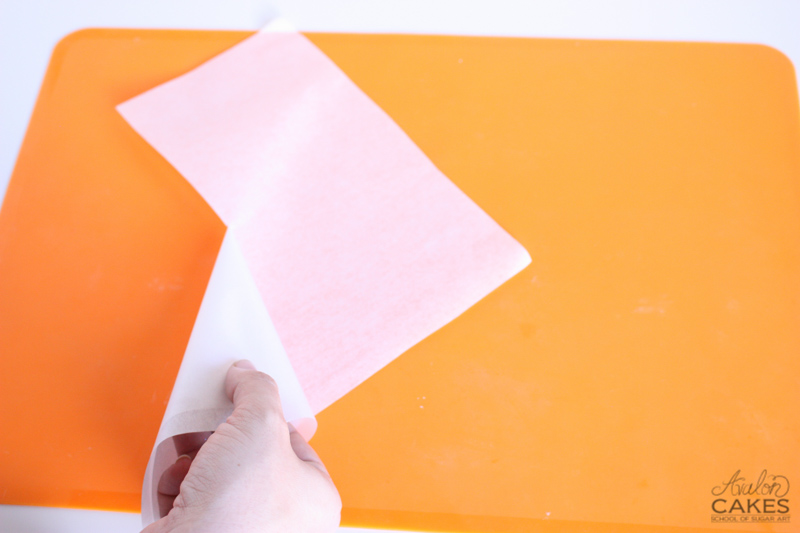
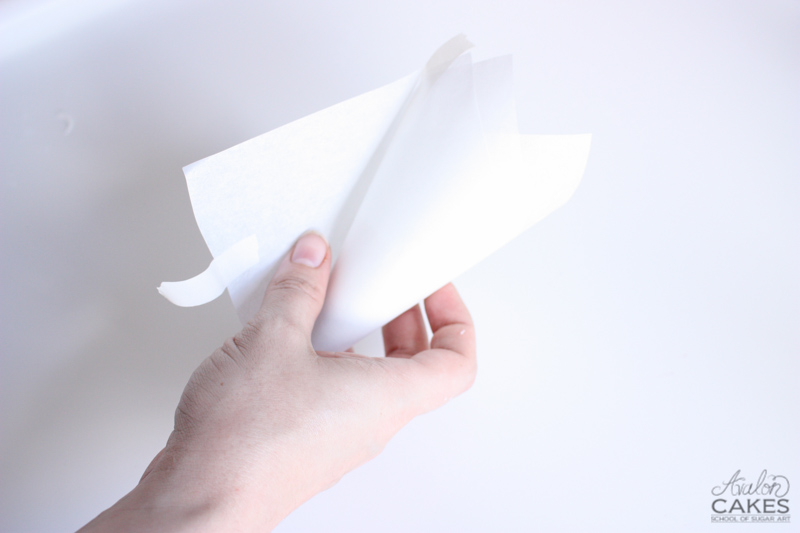
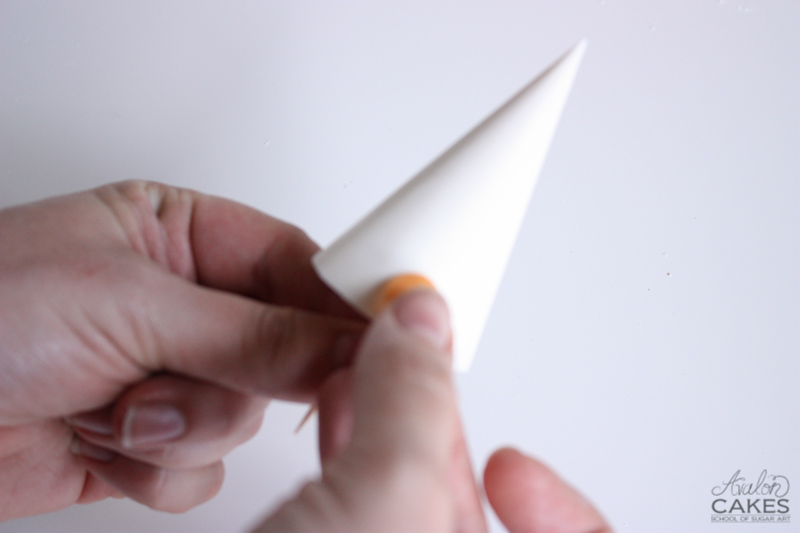
2. Start rolling the edge to create a cone in the center. Tape the cone. (You can also do this with a parchment triangle, I just like the extra layers the square creates, making it more stable)
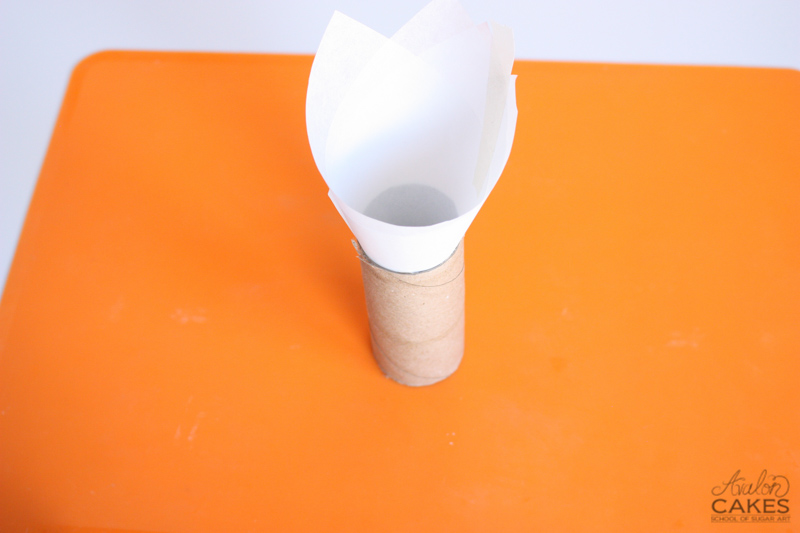
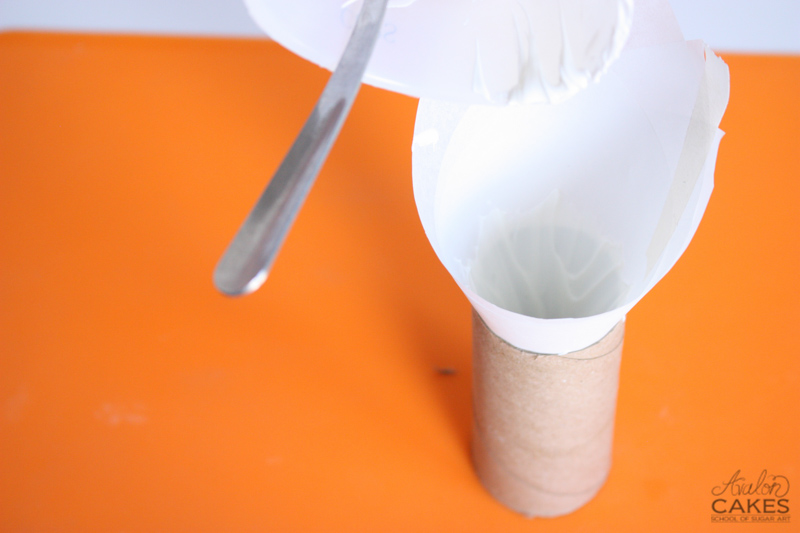
3. Place in something narrow that will support it while you pour your chocolate. I used a paper towel roll.
4. Paint your candy melts up the edge to the approx line you'd like the hat to stop. This will help make the surface ultra smooth eliminating surface bubbles that may appear in the chocolate.
5. Pour your candy melts into the cone to the desired height, I went about 2" high.
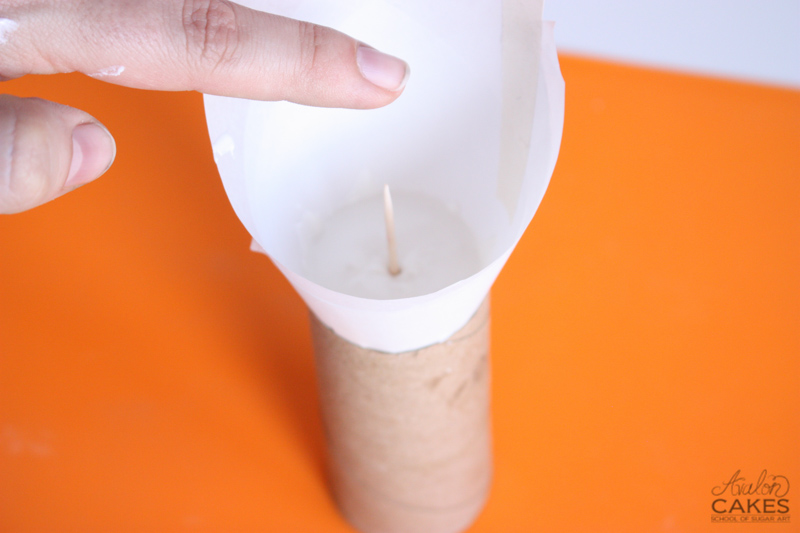
6. Place your toothpick in the center. Make sure at least 1.5" is sticking off the top (you will use that to secure it on your cake). If the toothpick is falling, let your chocolate set up a little at room temp until it sticks straight up.
7. Put in the freezer for 10 minutes until set!
8. Unwrap the parchment.
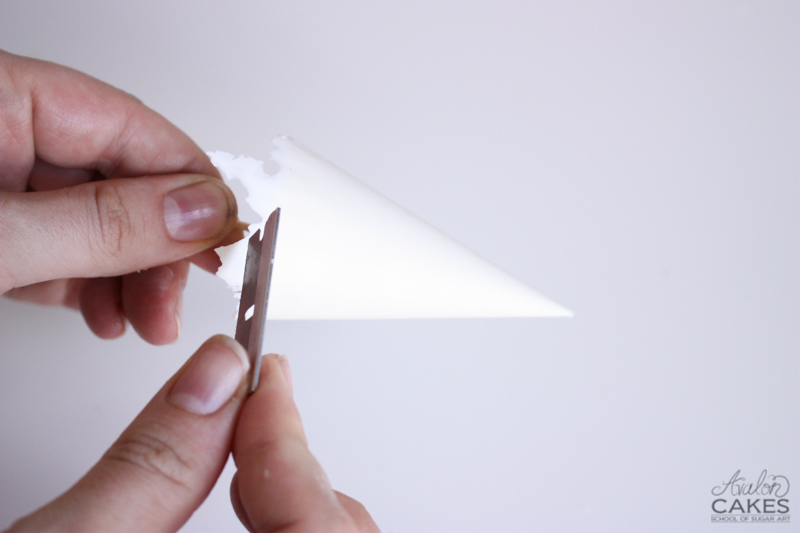
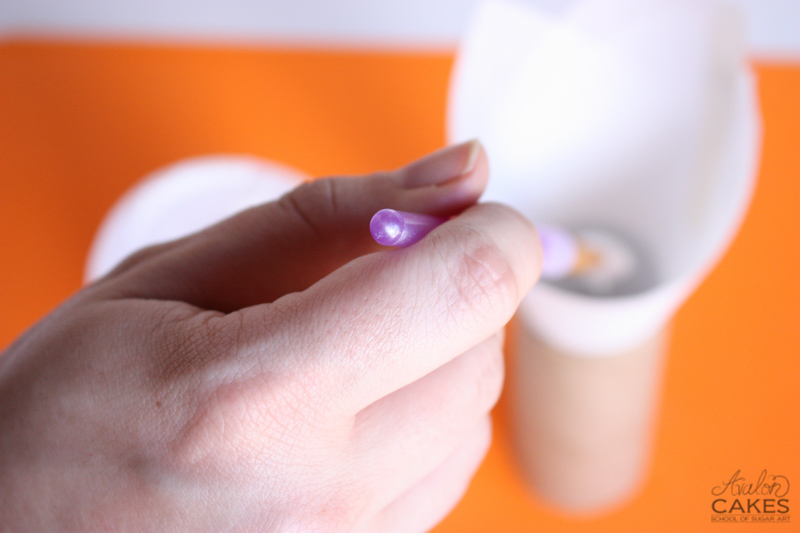
9. Clean up the edges with a razor or knife (careful!).
10. Place your decor! I chose random polka dots. I placed them on with shortening so I could move them to where I thought they looked best.
You'll need:
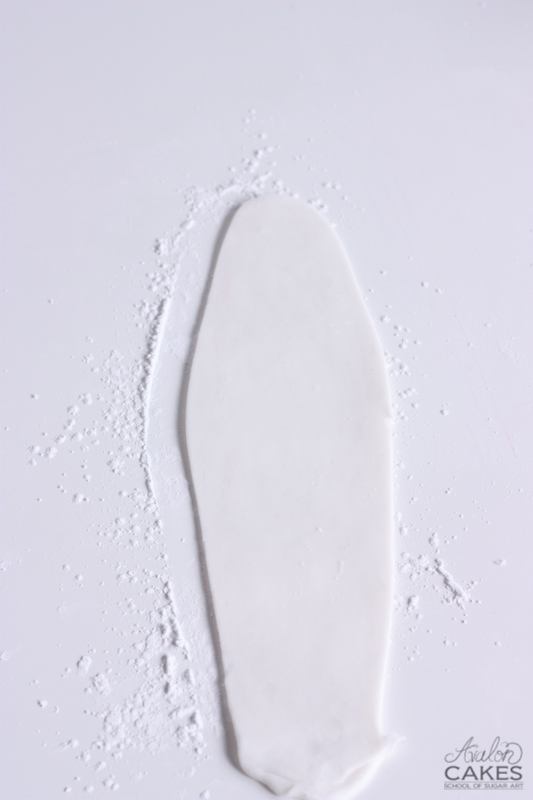
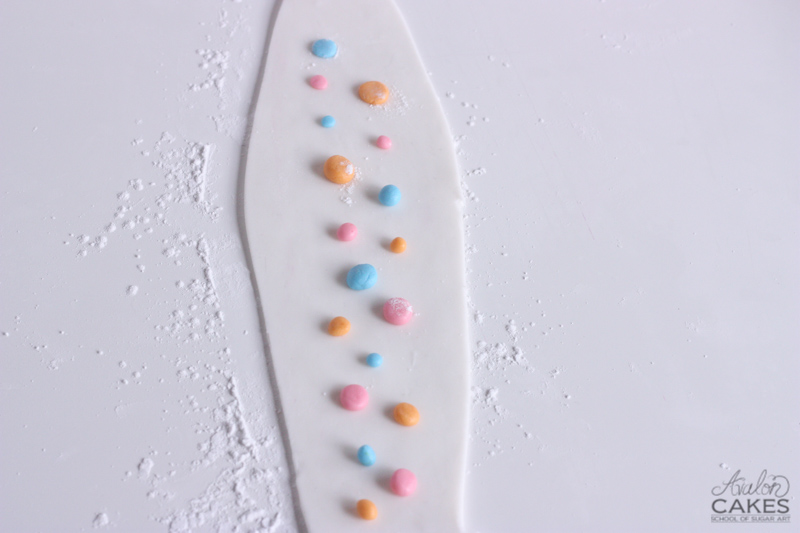
2. Rub a very thin amount of shortening on your fondant. Roll out tiny balls in different size and place along the fondant. Alternatively, you could also cut circles out with circle cutters/pasty tips, I just found this a little faster.
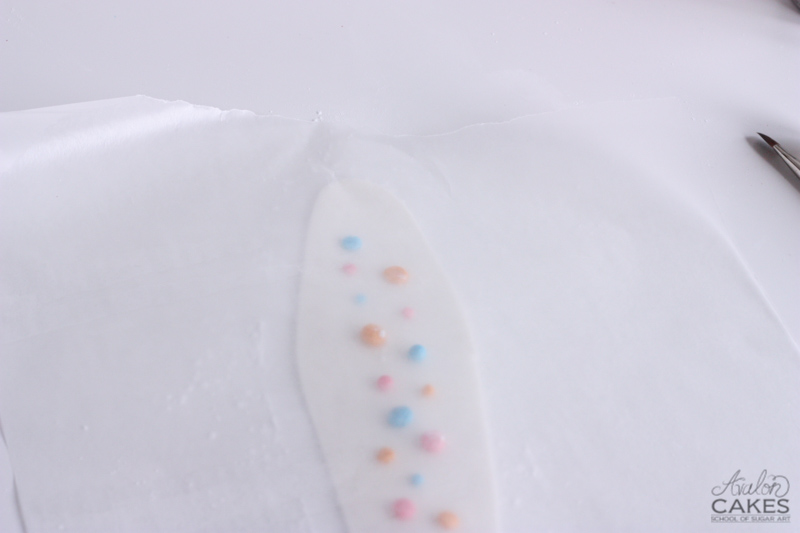
3. Place a piece of wax or parchment paper over top.
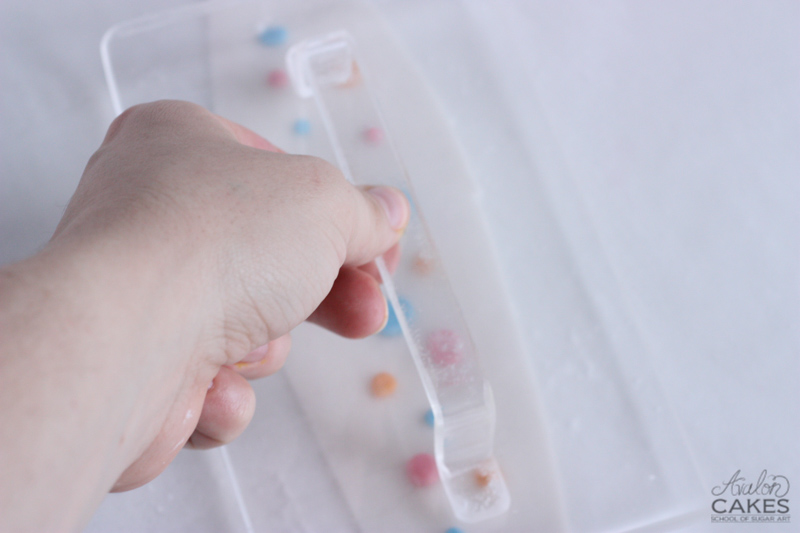
4. Press down on the paper with a fondant smoother. Pressing down rather then rolling over with a rolling pin will create more uniform circles.
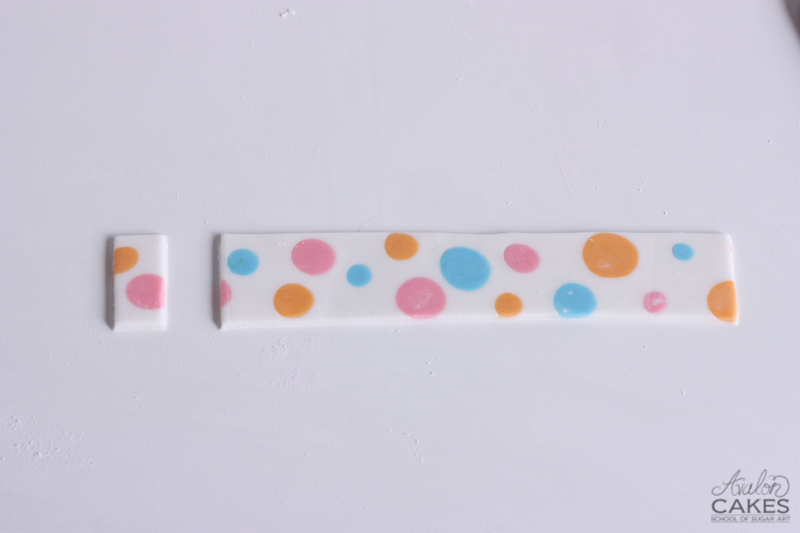
5. Cut your strips for you bow. 8" x 1.5" then cut of 1/2" from there for the center.
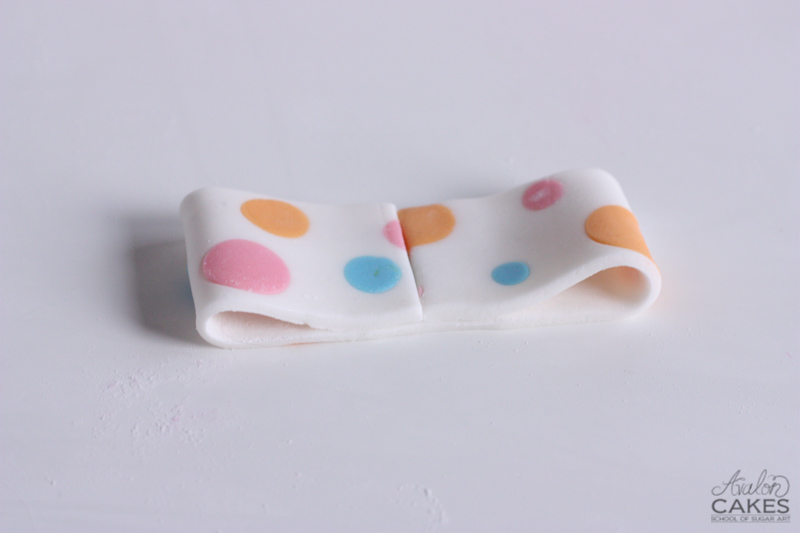
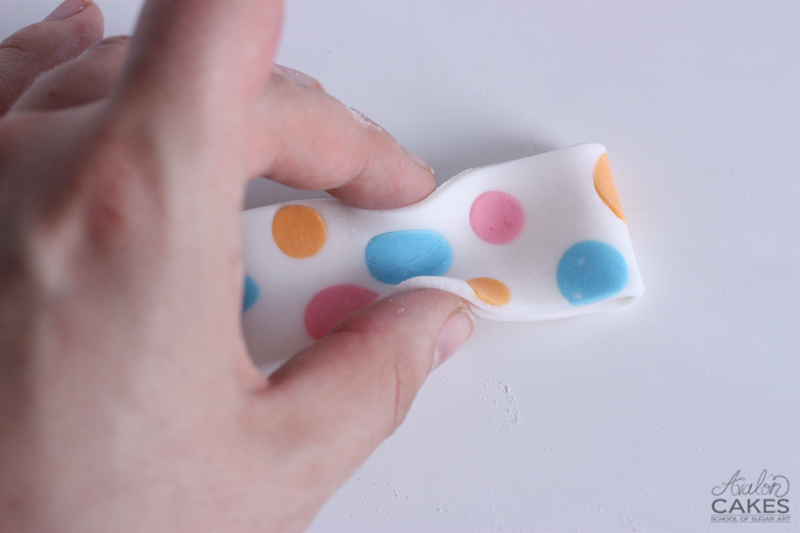
6. Take the two ends, create loops to make them meet in the middle.
7. Pinch the center. Tip: Use a skewer or modeling tool to pop the center up from the underside and create more fold marks.
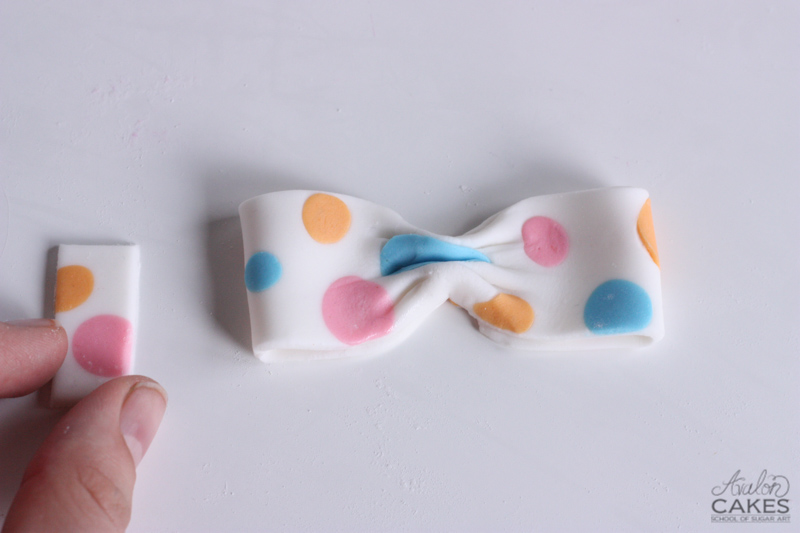
8. Take the other stripe of fondant and wrap it over the center. Use a little water to secure.
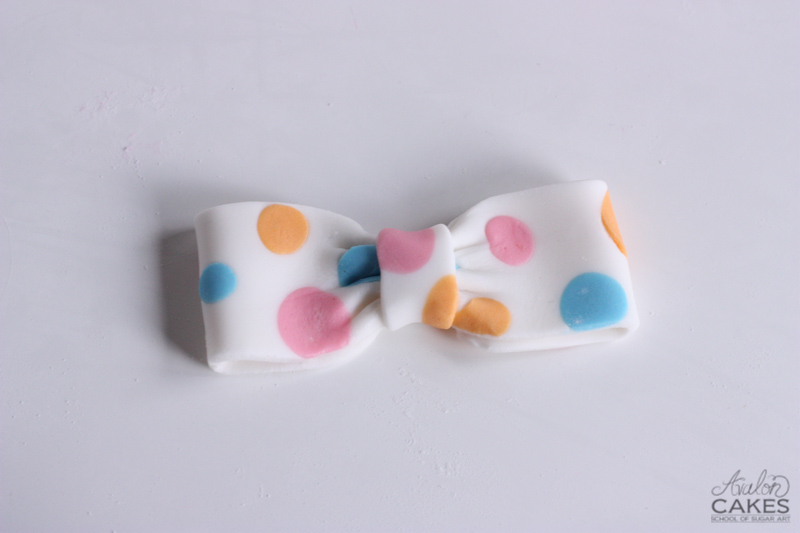
9. Now you're ready to place it! I used a toothpick and a little water to secure it on her head.
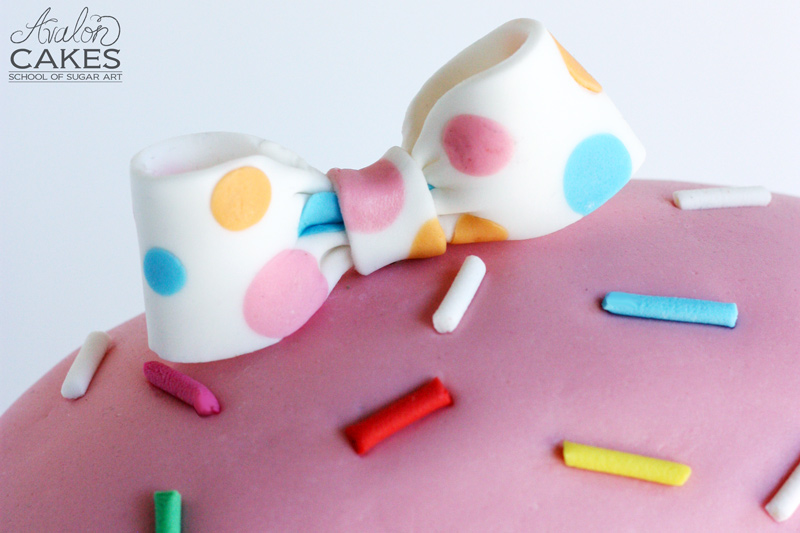
10. Once you place the bow in it's desired spot you can open up the loops and arrange it until it's perfect!
Raise your hand if they make you want to jazz up every cake you ever make with a party hat or bow! Now, just an important little note: while you may be tempted to only create one of the two accessories for your character cake, I find it’s important to have options available.
For those of ya that are just plain tired of the polka dot look, you can easily create other fun designs on the accessories too! If you’re in need of inspiration, take a peek at some of these incredible time saving tools which can help you bring your bow or party hat to the next level!
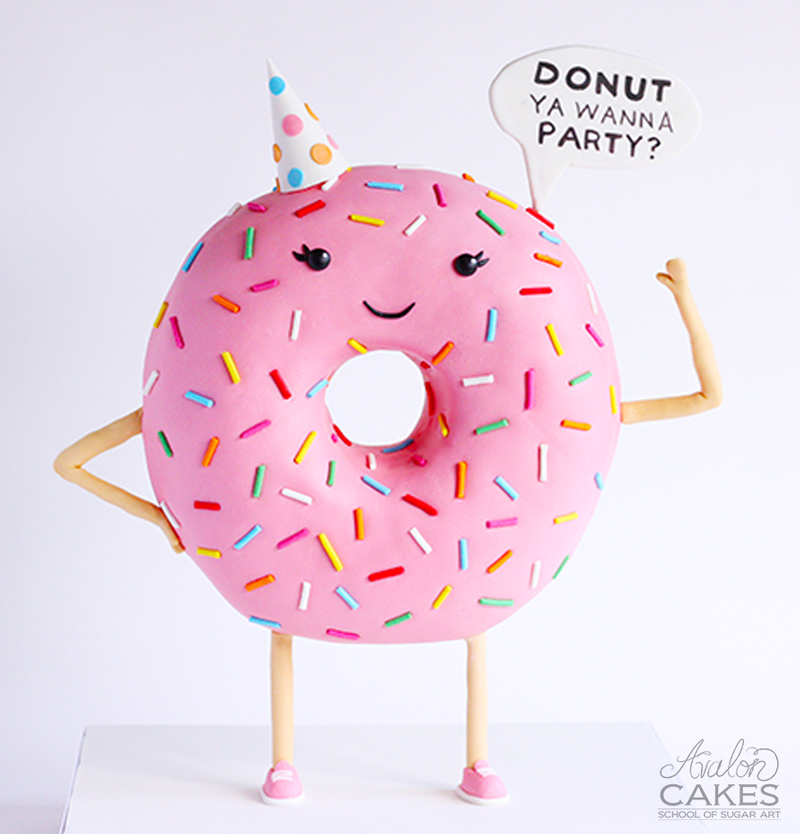
donut-party-cake
If you’re following the donut-lovin-trend and need to create one for a little babe’s birthday or for an adult cake smash session (oh gosh, please tell me you’ve already seen pictures of those because they are HILARIOUS), I’ve got your pink frosting, cute sprinkles thrown on top lovin’ heart covered with my tutorial! The polka dot bow and party hat are the perfect accessories for this baby.
So, who’s off to go make accessories for their cakes now? Don’t forget to come back and share your creations with me, okay? I love seeing the new twists you guys put on my tutorials!
Last modified on January 27th, 2023


I'm Avalon -- and I'm not your typical cake decorator. I'm obsessed with fusing the world of ART and CAKE. Sugar is my canvas. If you're down to get messy and dive into a whole new level of cake, take my virtual hand, cause I've got so many secrets I want to show you! learn more>>

Join 1000s of others in our Online Cake School and learn how to make incredible sugar art!


